Project: Valentine’s Glitter Nail Art Design
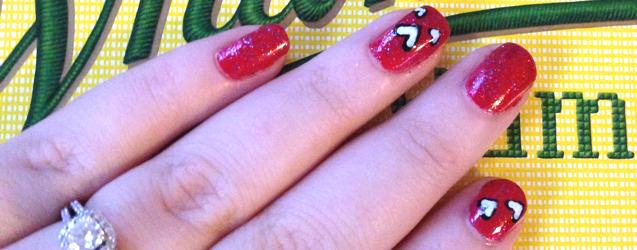
While looking for ideas for my Valentine’s Day nail art for next week, I stumbled upon the design I did for my nails last V-Day. You can tell it’s from 2013 since I have no wedding band on my ring finger yet! The design is easy and the glitter polish gives it a little more sparkle!
Materials:
- Clear base/top coat
- Red nail polish
- White nail polish
- Black nail polish
- Glitter polish
- Toothpick or dotting tool
Instructions:
- First, I painted a layer of clear base coat on my nails and let it dry.
- Next, I painted two layers of red polish on each nail, letting it dry in between.
- When those were all dry, I moved on to my hearts. You can draw hearts on all your fingers or just a few for accent. I chose two on each hand. To make the hearts, I used a toothpick (or dotting tool) to create little hearts using the black polish only. Let dry.
- When the black is done drying, you’ll draw inside the heart with the white polish and toothpick. This will make it look like it’s outlined in black. So cute!
- When the white is finally all dry, use your favorite glitter polish. I like something a little on the clear side so you can see the nail art underneath, like Snow Globe by China Glaze or something else clear-ish.
- To finish off your look, lock it in with a clear top coat.
- Let dry, and enjoy!
Hope you liked this Valentine’s Glitter Design! I’ll post another heart themed nail art design next week!