How To Make Your Own Washi Tape!

Project: How To Make Your Own Washi Tape.. . in 3 different ways!
Did you
about how completely awesome washi tape is? No? You should probably check it out now, so that you have ideas in your head on what you will use this tape for as you’re making it! My sister is visiting for the next week and a half, and she and I tried out
THREE
different ways to make it. They are all very similar, using similar materials, but the process differs slightly. Let’s take a look at each of them below!
We had a lot of fun with this project! We decided to “battle it out” and see which way would be the winner in future washi tape creations. There were advantages and disadvantages to each. My tutorial is the first. Jessica’s is the second. The last one is one we came up with afterward. Hopefully you find one of these helpful! Now it’s time for Sister vs. Sister in the Great Washi Battle of ’14!
Materials:
-
White tissue paper
-
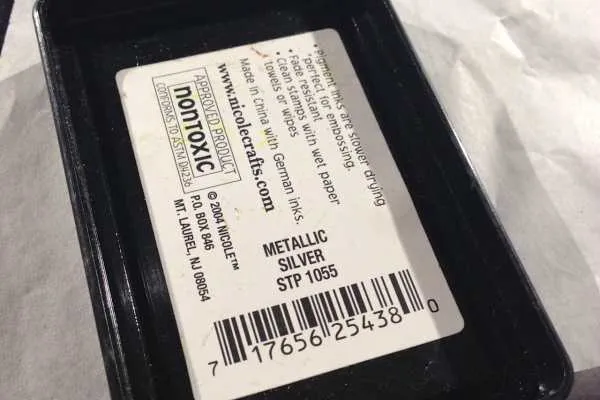
Ink pads
-
Stamps
-
Scissors
-
Therm O Web iCraft Tape Sheets
***OR*** Double sided tape + Wax paper
Tutorials:
The first steps, regardless of the tutorial you choose to follow, are the same. I’ll list those first.
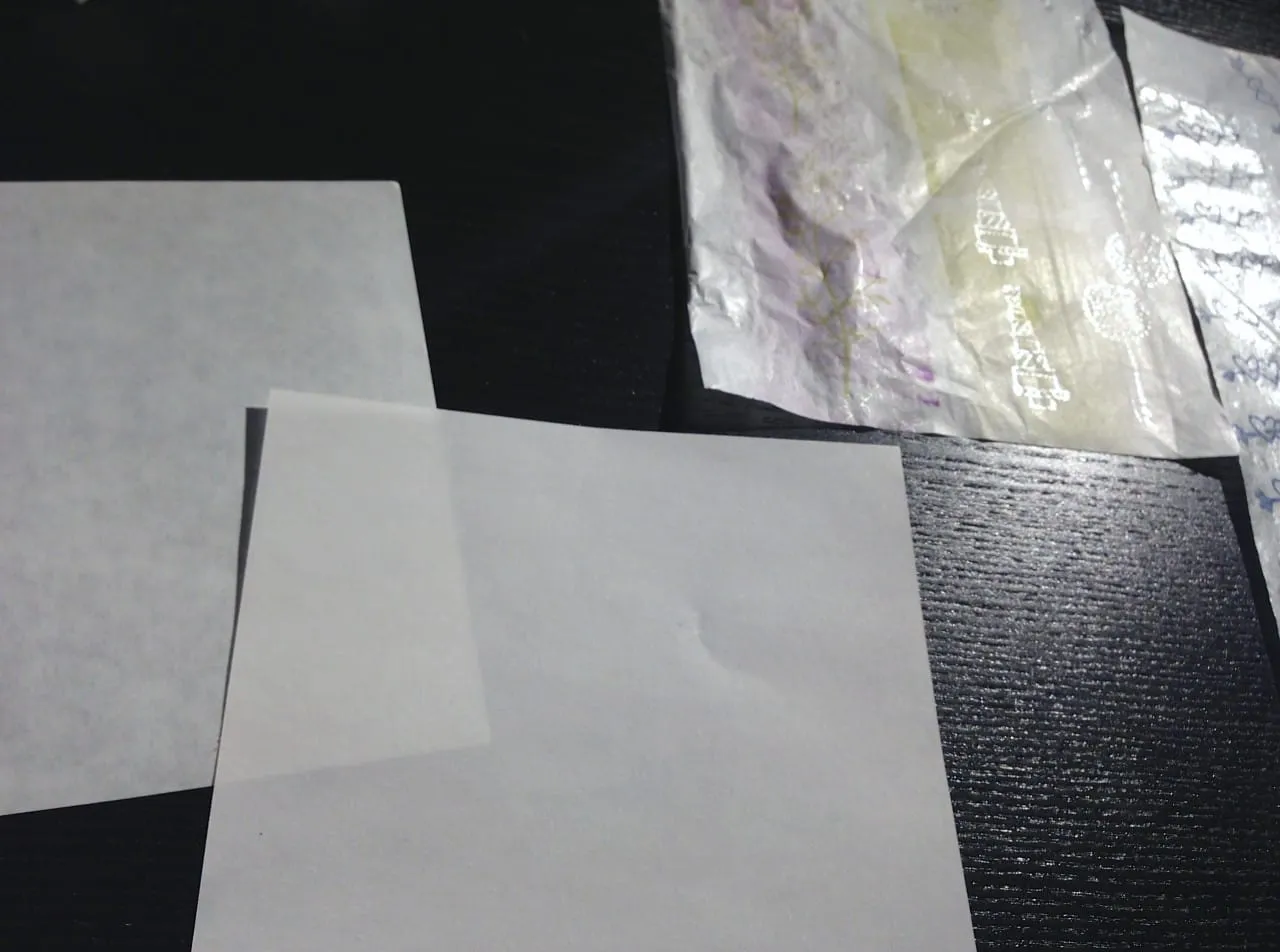
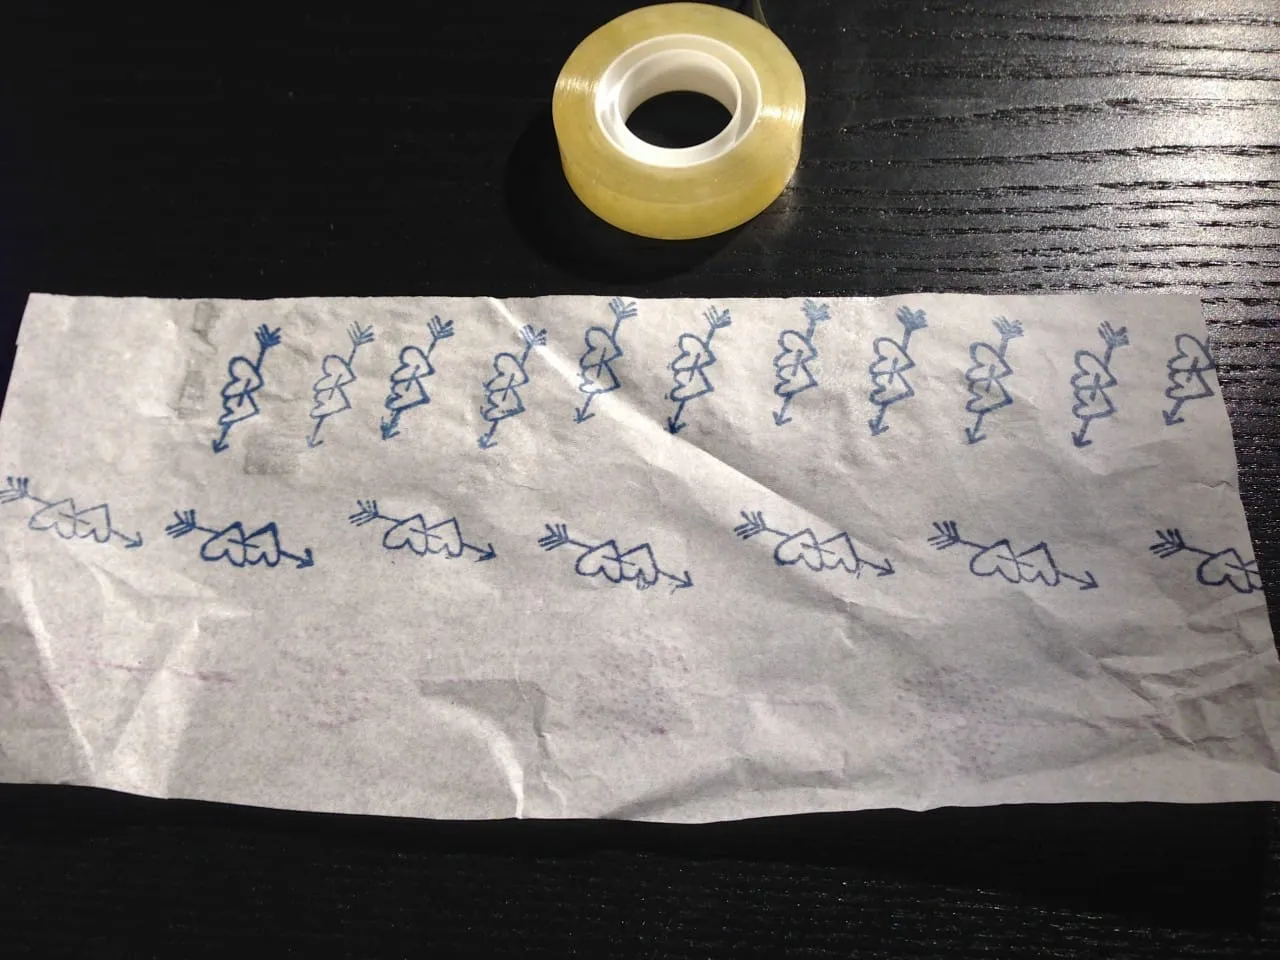
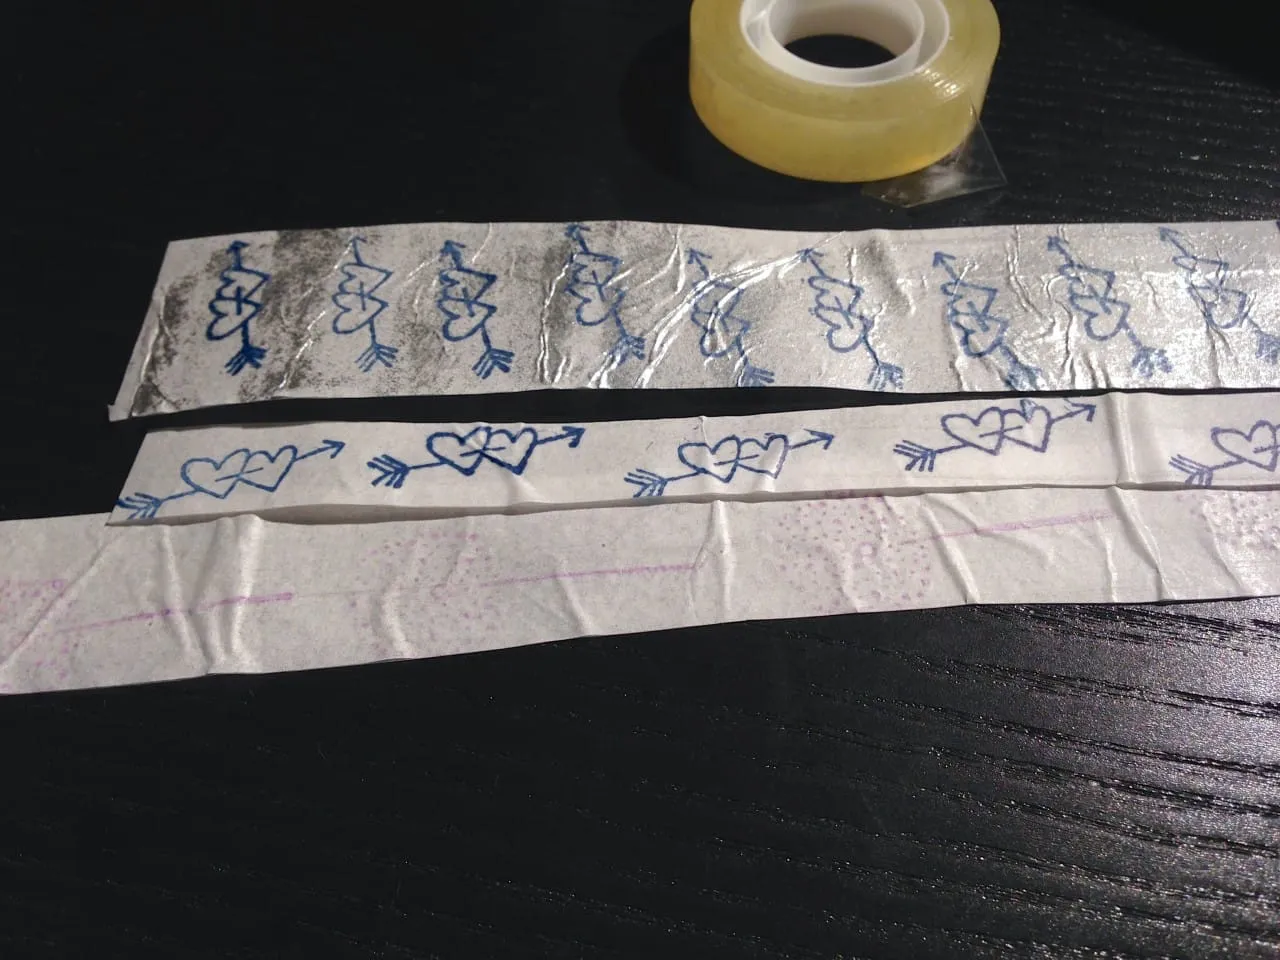
- Lay out your white* tissue paper (I bought mine at the Dollar Store!) out in front of you with the ‘glossy’ or ‘shiny’ side facing you and the matte side as the ‘back’. Make sure there is either extra tissue paper under it or newspaper, because ink sure does make a mess!
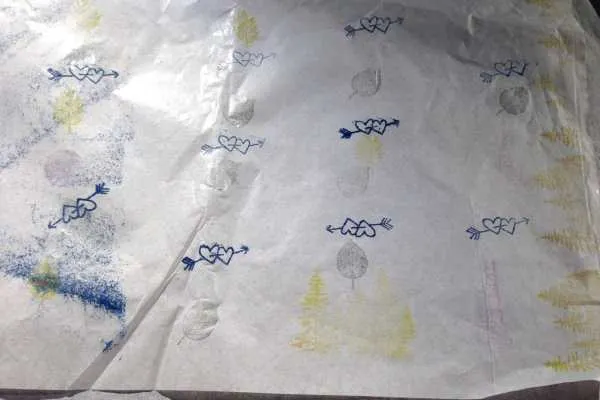
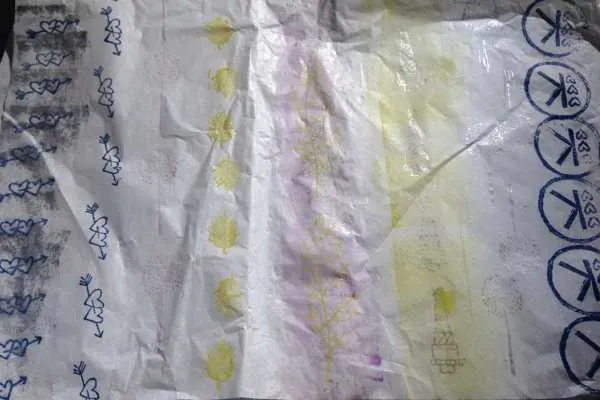
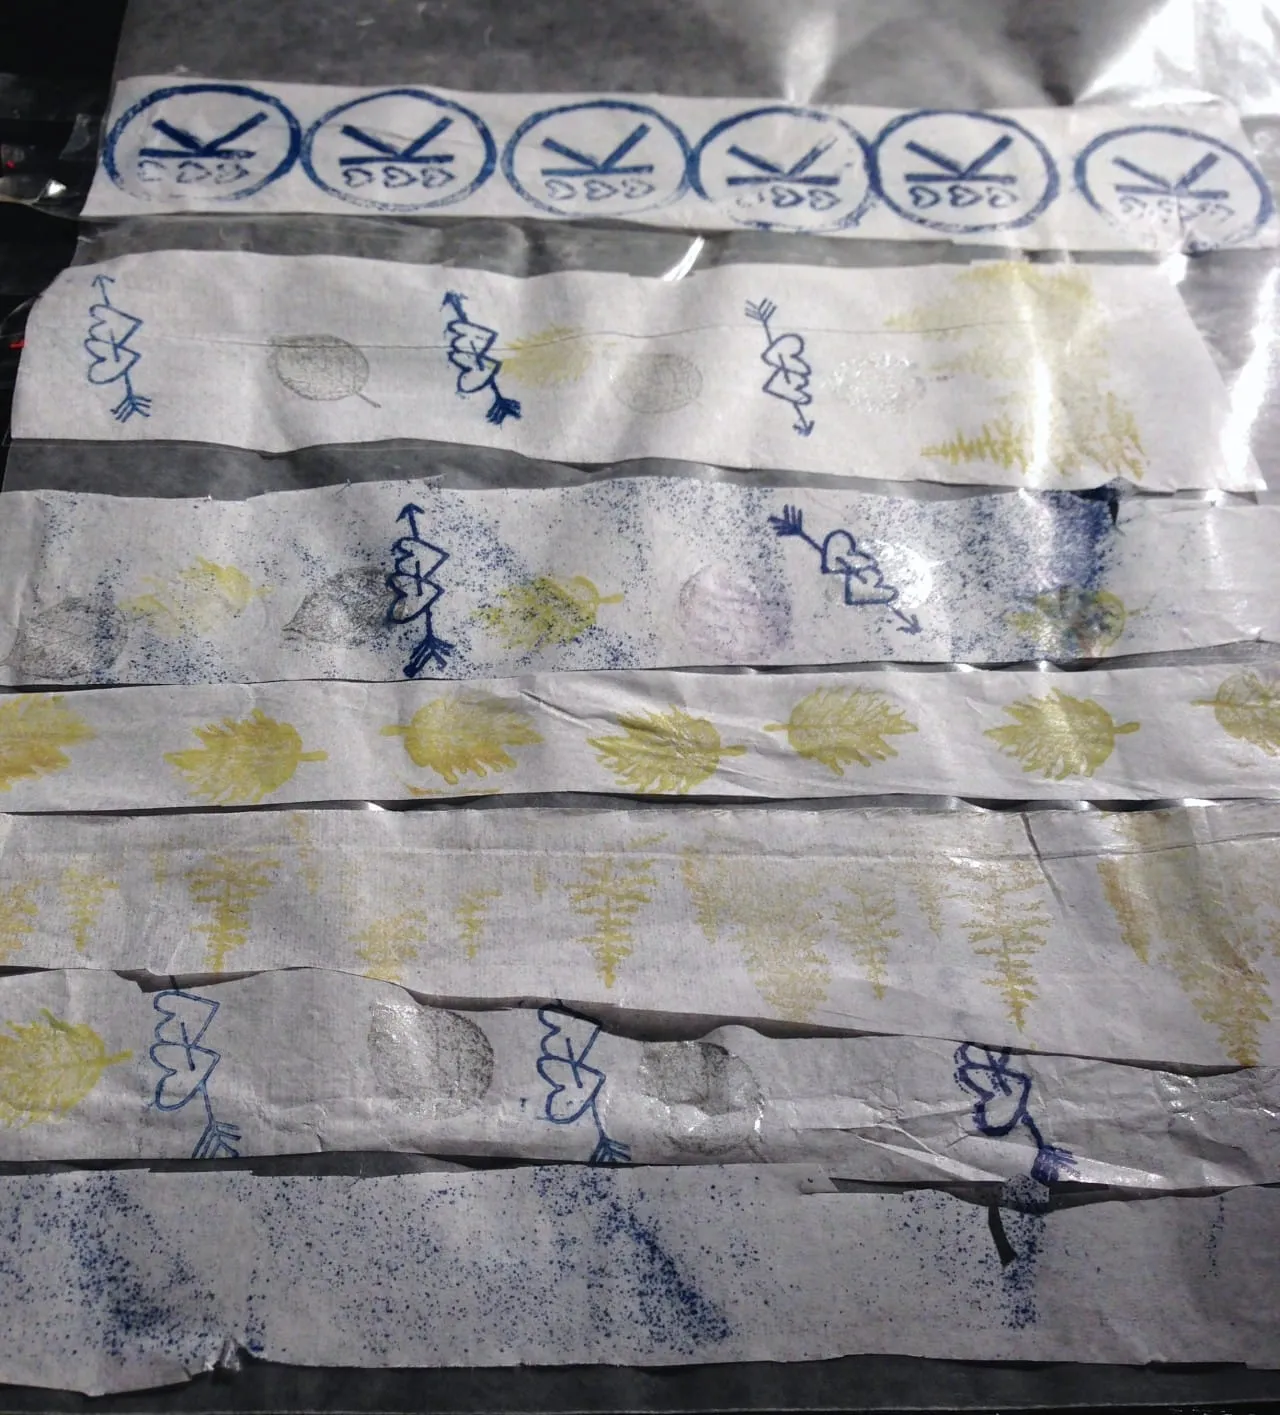
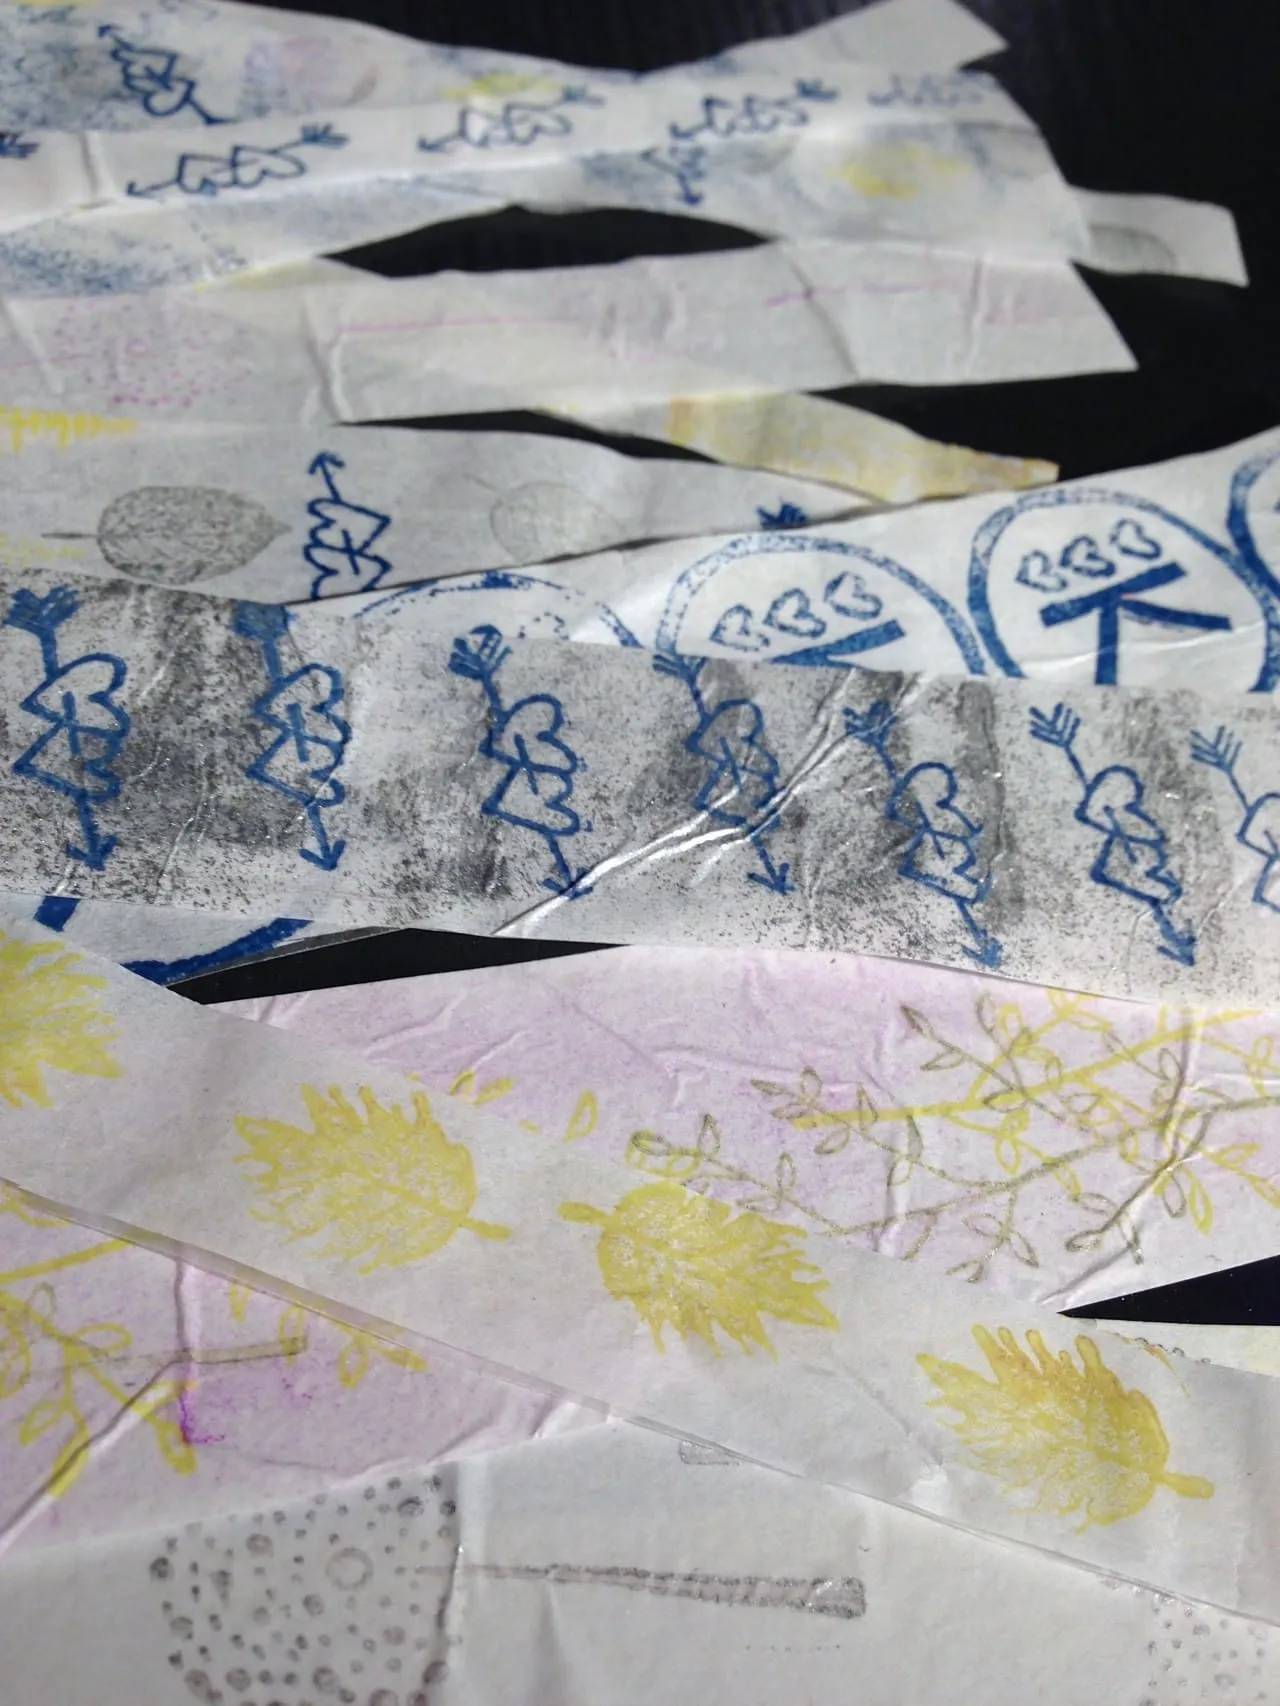
- Stamp to your heart’s content! Use the rubber stamps and even the ink pads to decorate!
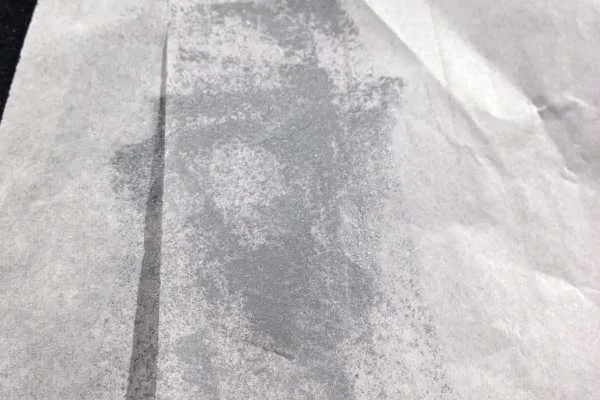
-
Set aside and let dry
completely
before the next steps!

Now we branch off to our different tutorials. First up is mine!
Tutorial #1:
-
Start with completely dried and decorated tissue paper (see above).
-
Peel backing off one sheet of
Therm O Web iCraft Tape Sheets
.
-
Place your
dry
decorated tissue
paper right side up
(with inked side facing you) directly on the large sticky adhesive sheet.
-
Press down with your fingertips. If wrinkles are created, go with it! The imperfections make it so much better.

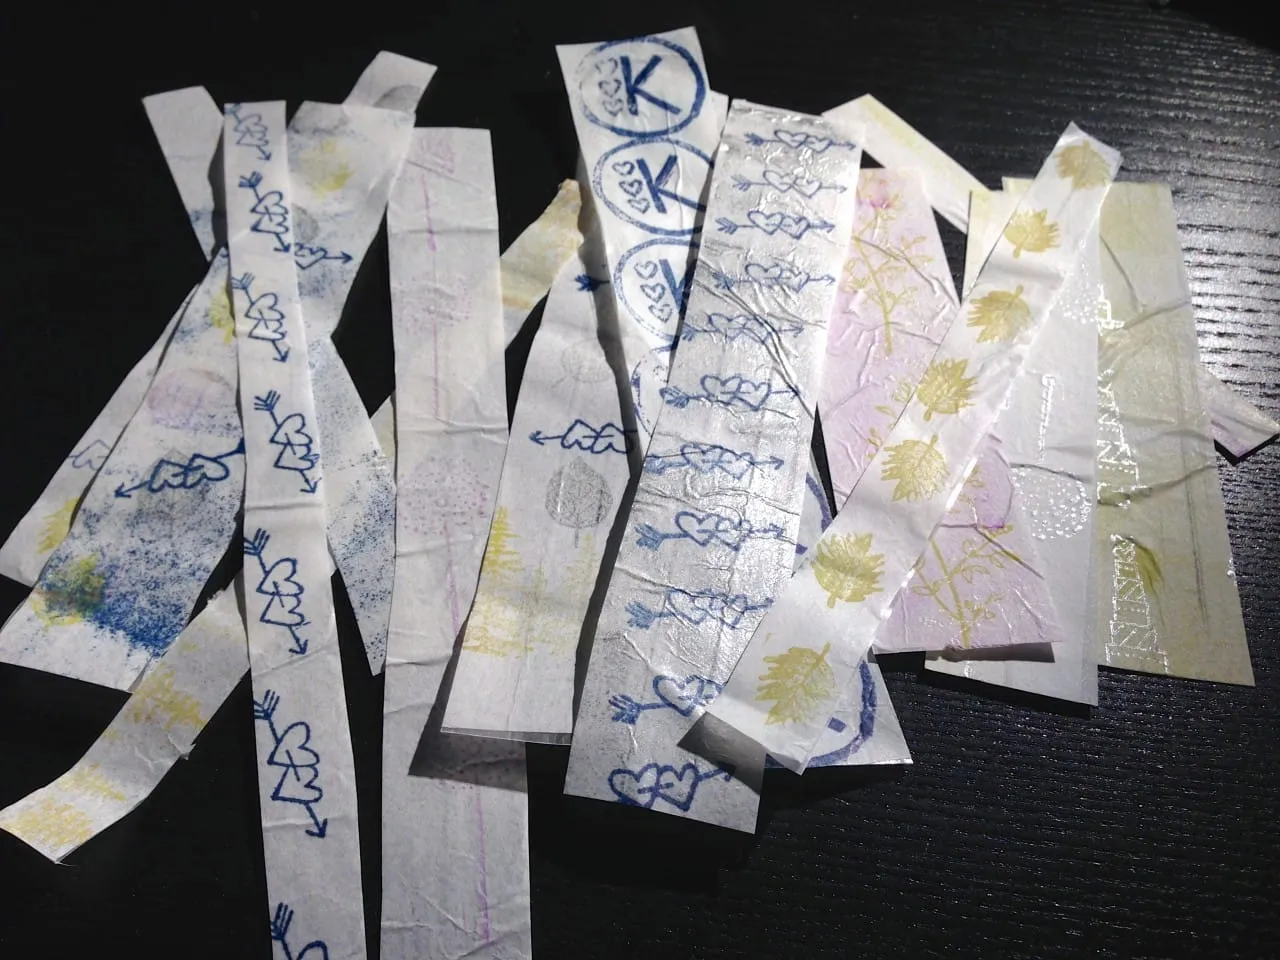
- Cut out strips. You’re done!
Pros:
-
Less steps = less time spent = easier & quicker
-
Can adjust width however you like
Cons:
-
Limited to the length/height of the square of adhesive
-
Not quite as transparent as regular washi tape
-
Each small adhesive sheet costs over a dollar
Now for Jessica’s take! (Which I helped with because it was more time consuming!)
Tutorial #2:
-
Start with completely dried and decorated tissue paper (see above).
-
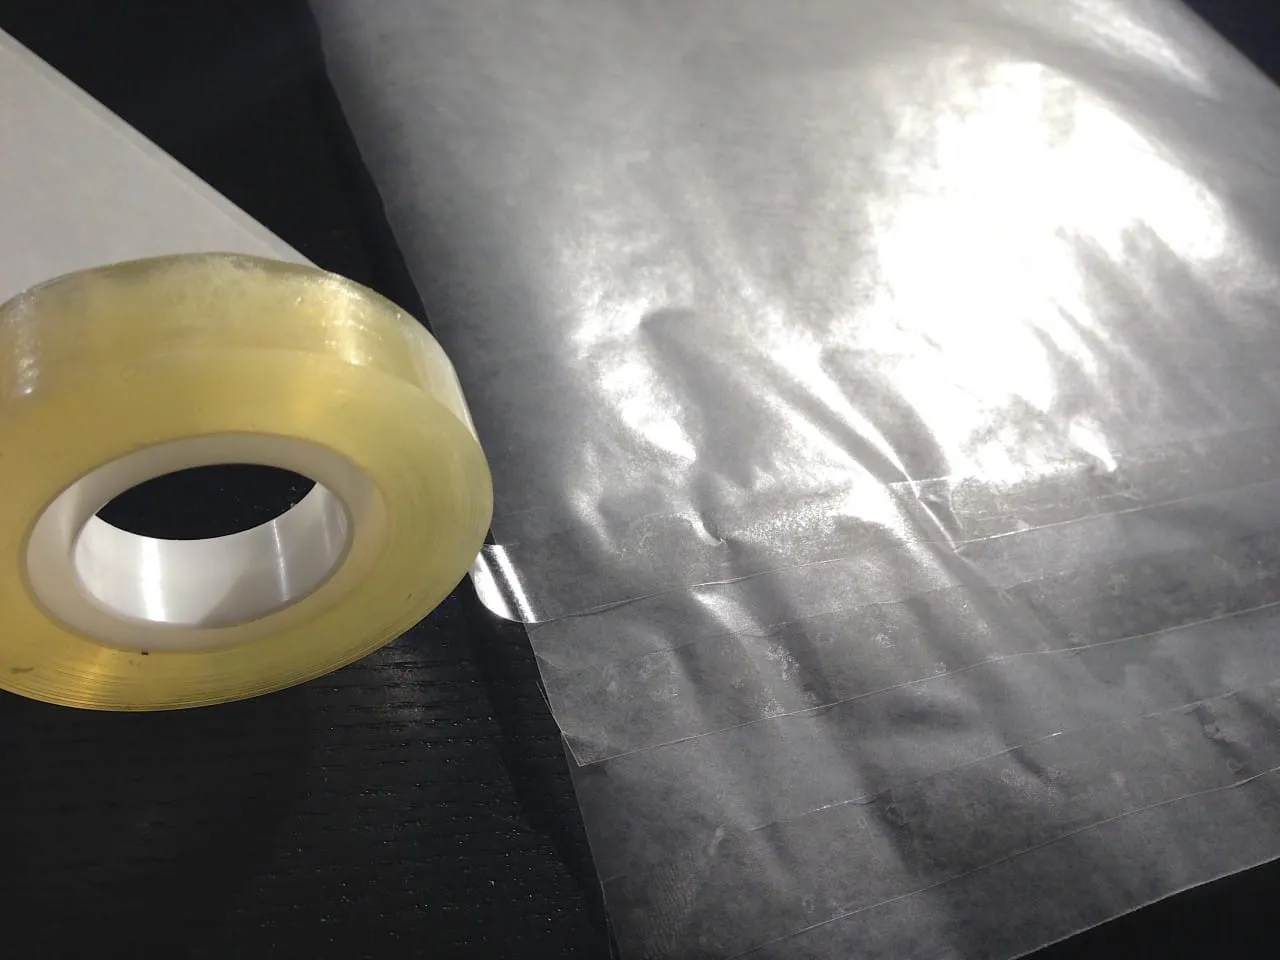
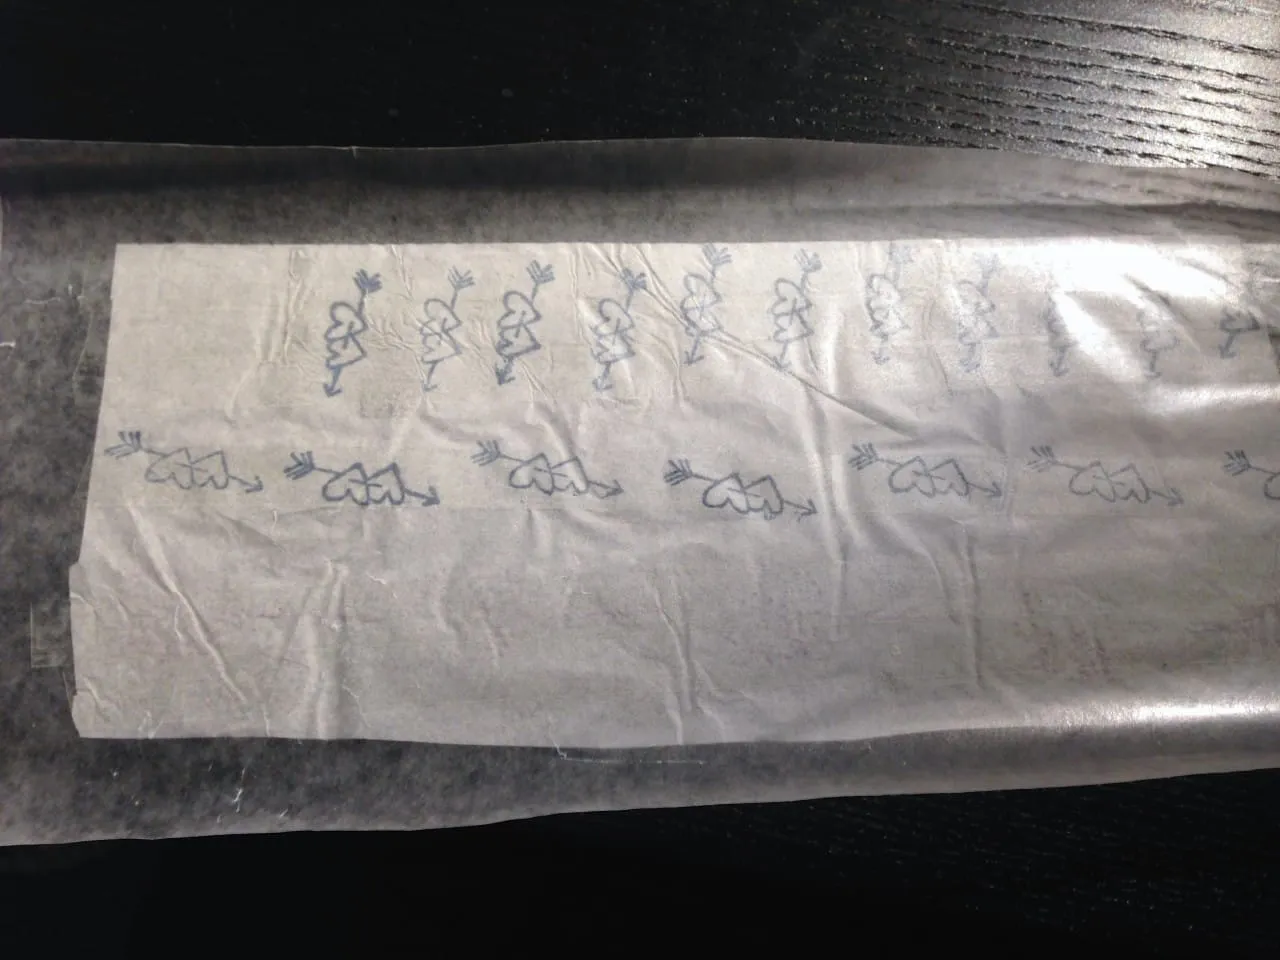
Tear off some wax paper and begin to line it with double sided tape. Go for super skinny one strip tape, or line them up against each other for wider pieces.
-
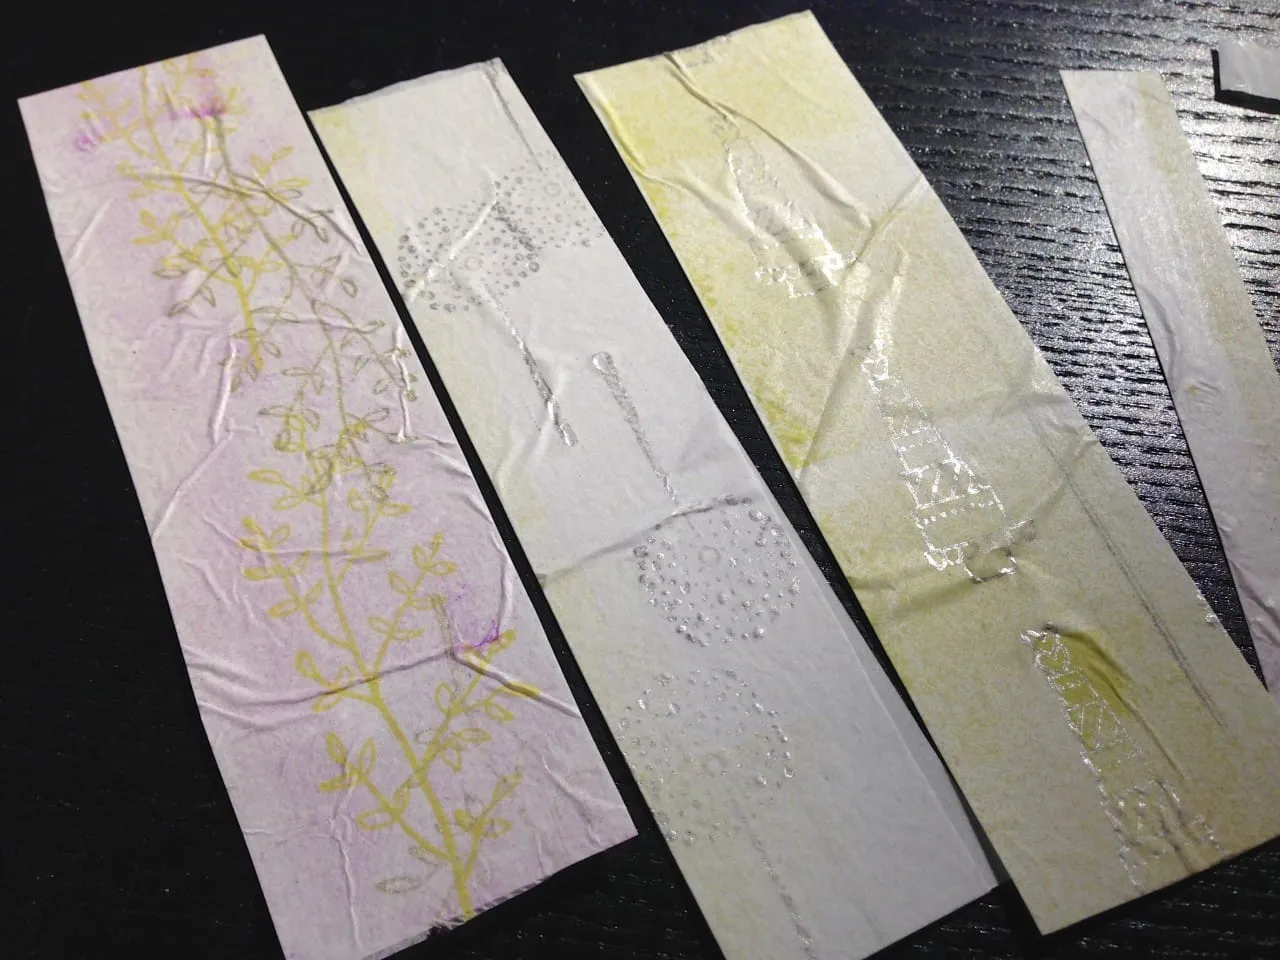
When your tape is all done, you need to make the paper strips to go on top of them. Use your scissors and cut up the tissue paper in to the size strips that you want.
-
Begin to lay each strip on top of the tape
right side facing up
carefully, pressing down with your fingertips. Again, don’t worry about wrinkles!
It make look completely wonky and choppy, but don’t worry about that! When you cut out the actual tape portion, it will be clean cut and awesome!
- Use your scissors to cut out each strip. Done!
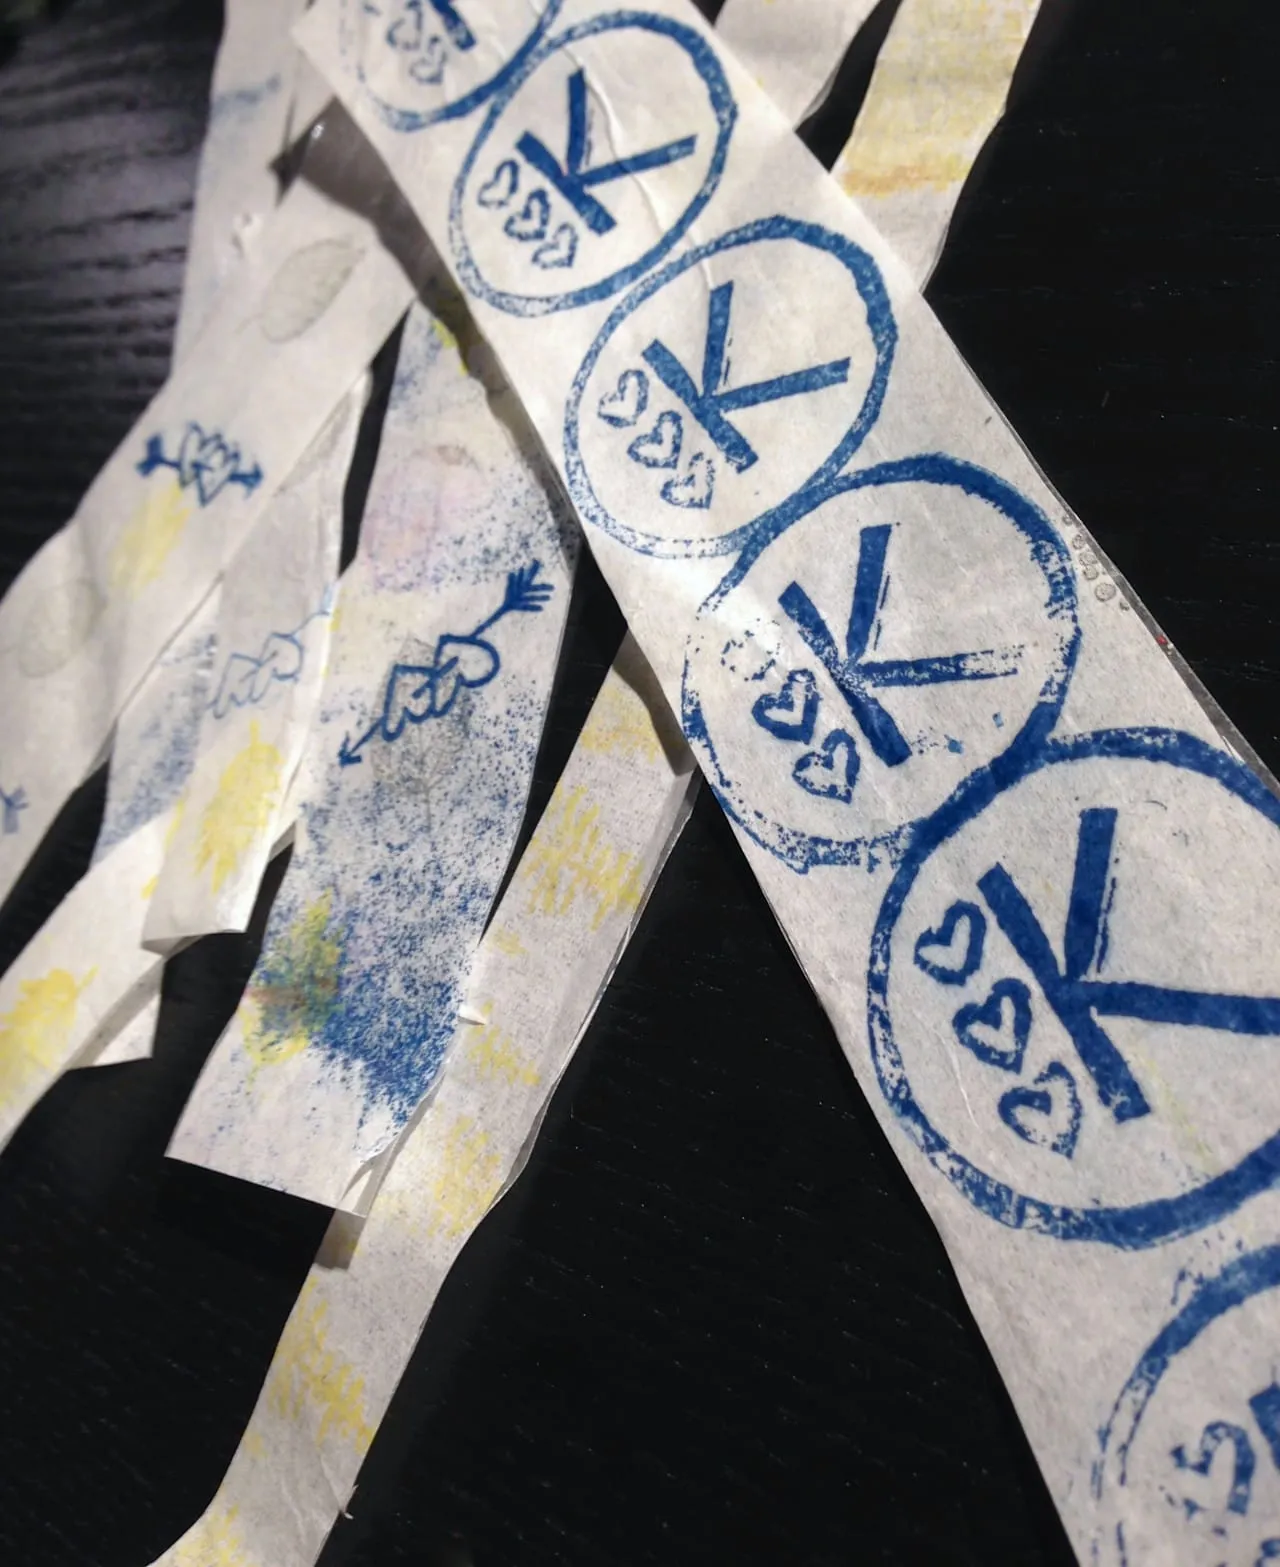
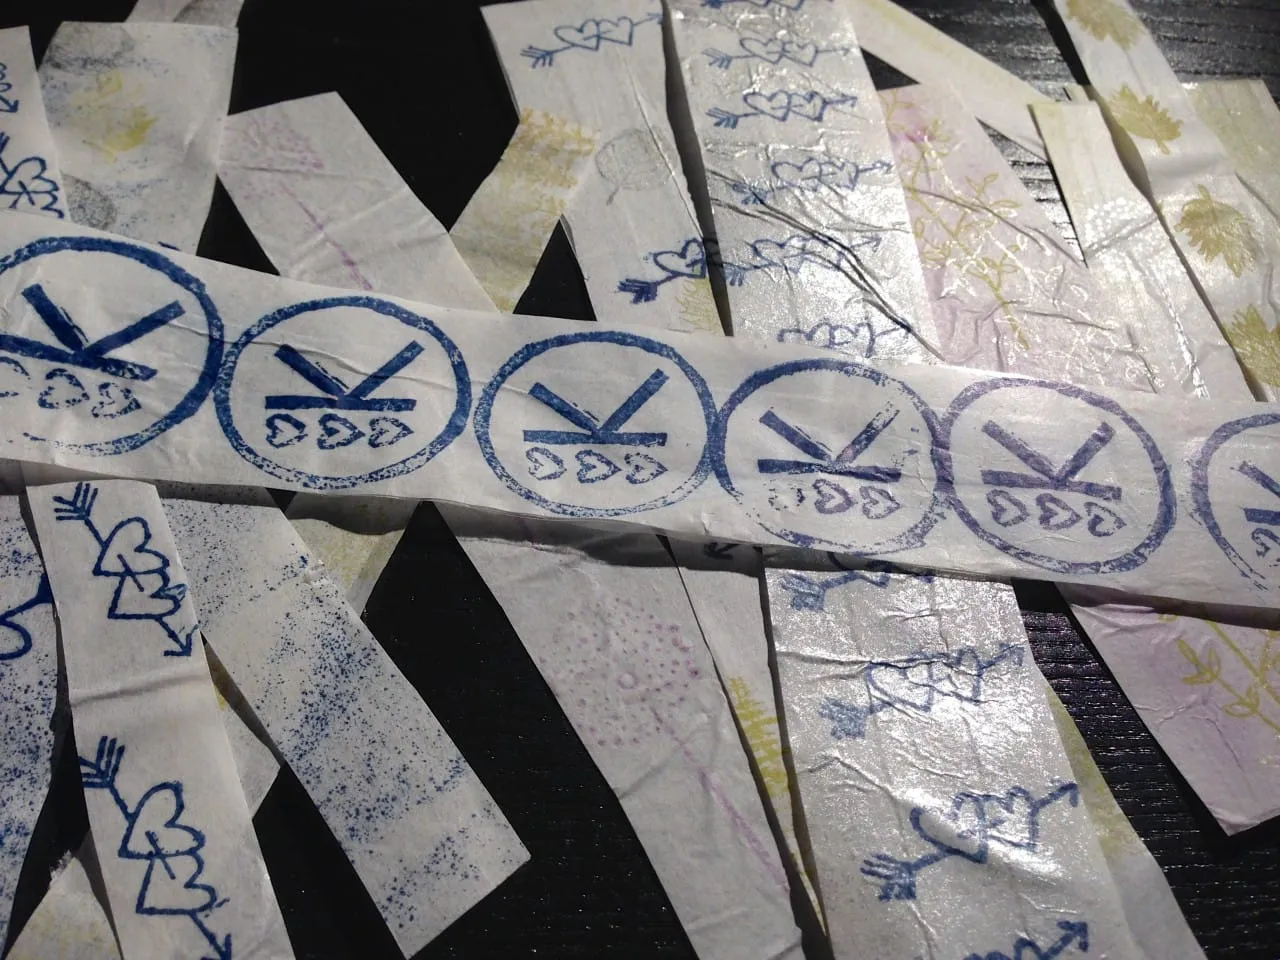
Hooray! Katie Crafts’ logo washi tape!
Pros:
-
Made with things we had around the house (double sided tape, wax paper) so no expensive adhesive sheets were needed.
-
Can make it as long as we want
-
More transparent than the adhesive sheets
Cons:
-
STICKY. Double sided tape is much stickier and harder to handle than the adhesive sheet.
-
More steps = more time needed to complete project
-
You’re cutting the strips out twice
-
Cutting exactly on the tape line is hard to do, especially as it’s transparent
Now for the spin-off!
Tutorial #3:
- Start with completely dried and decorated tissue paper (see above).
-
With
right side facing down
(ink not facing you), begin to put strips of double sided tape directly on the ‘back’ of your tissue paper.
-
When finished, place a sheet of wax paper as your backing across the whole of the tissue paper. Press firmly.
- Flip over
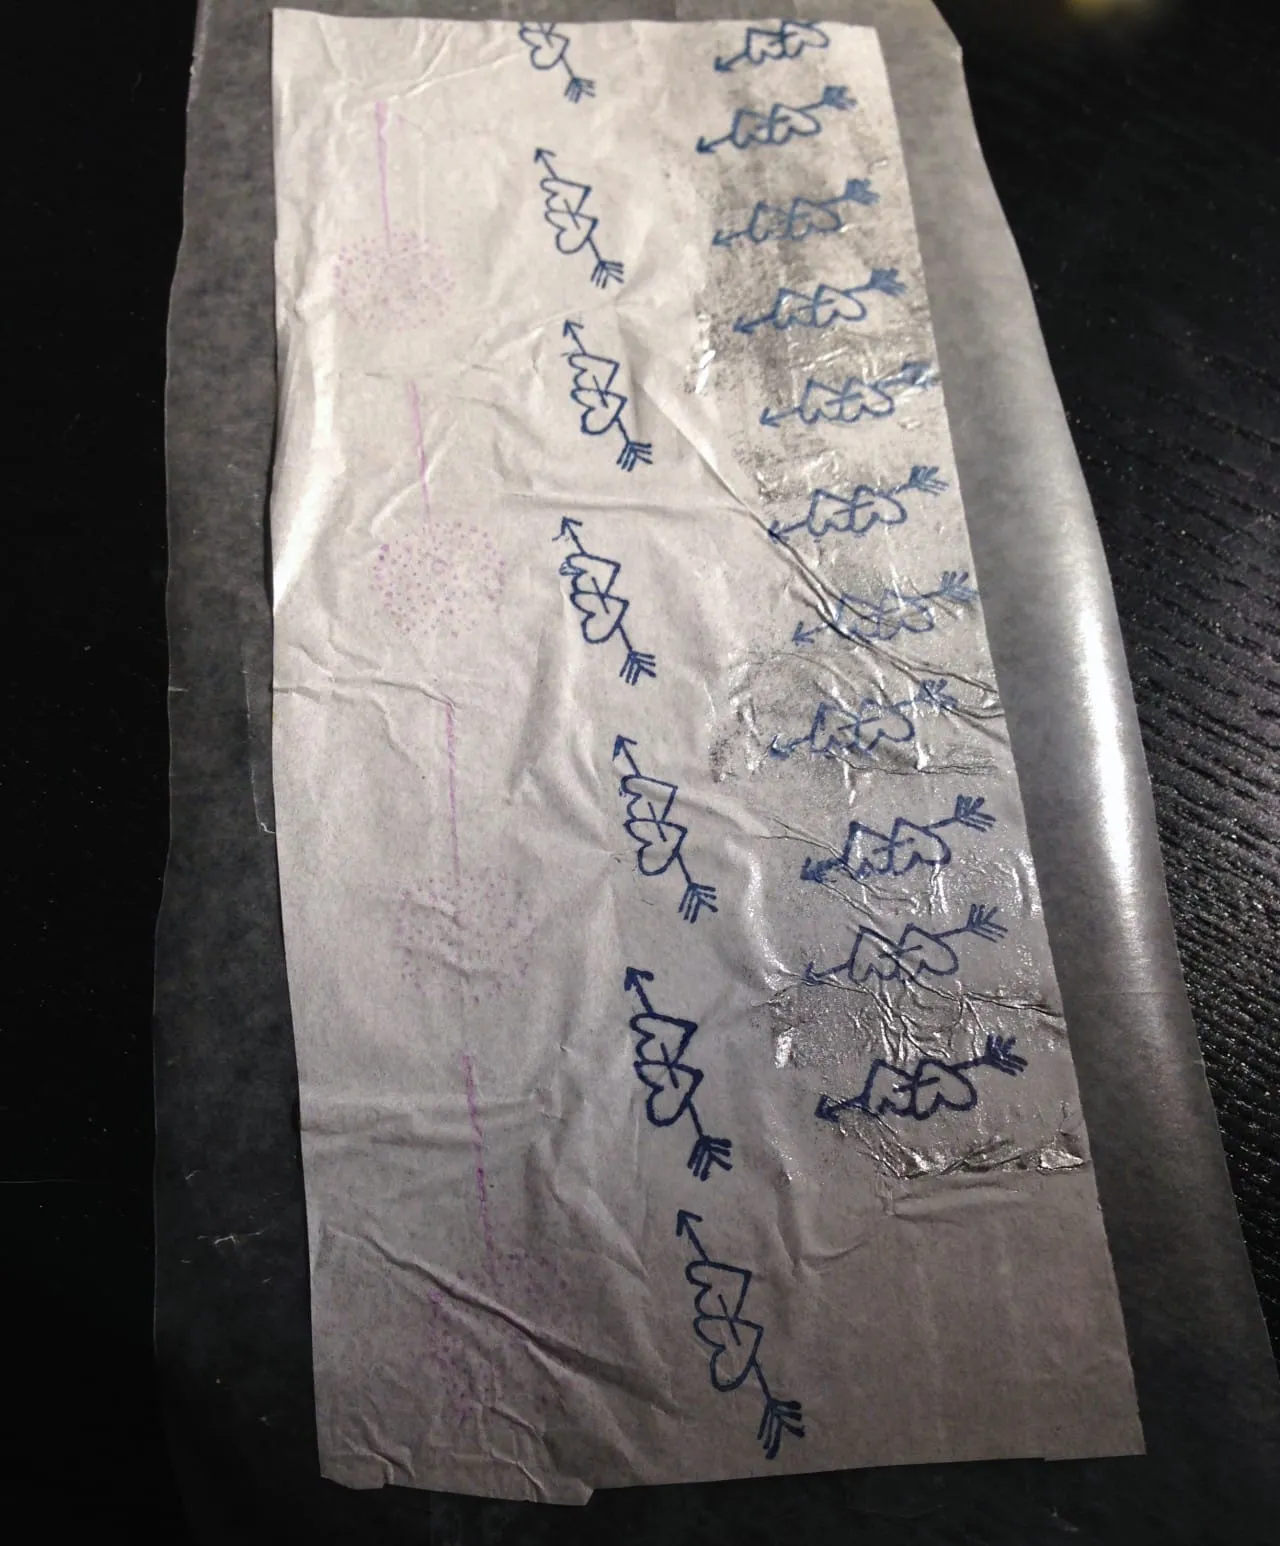
- Cut strips out. Finished!
Pros:
-
Still less expensive than adhesive sheets
-
Easier to lay double sided tape on the tissue paper than on wax paper/more flexibility in placement
-
Only cutting strips one time, not two
Cons:
-
Still more steps than using a sheet of adhesive = more time used
-
Still just as sticky
-
Still hard to cut the tape exactly
In the end, I’d say it’s pretty much a tie! Tutorial #1 wins for sheer ease, but the limitation of washi tape length is a real bummer. I want to make small rolls of it and I can’t do that with the adhesive sheets. Tutorial #2 is a cheaper (albeit more time consuming) alternative which does allow for much longer strips to be made. Tutorial #3 is one less step than #2, so it’s even better at it’s job. Perhaps the rogue tutorial that neither of us thought of in the beginning is the real winner!
Tips:
-
I used *white tissue paper specifically so that we could stamp on it. You can use solid colored tissue paper in various shades to create quick solid washi tape, or even patterned tissue paper for something fun!
-
Napkins work great too! Just make sure to use 1-ply only.
-
We stamped our designs, but you can get more creative than that if you want. Color works of art on your tissue paper for totally unique tape!
We only made short strips, so we stored our tape in an envelope. If you are making looooong strips, wrap each tightly around an empty cardboard paper towel roll and use a paper clip or bobby pin to hold it in place! Cut the cardboard tube into many sections for many rolls!
If you use any of my tutorials on how to make washi tape, let me know in the comments- and show some project pics, too! If you have yet another way to make it, please share with the class! Have a great weekend!