How To Sew A Hair Bow
Project: How To Sew A Hair Bow
Today is
National Sewing Machine Day
! Break out your old Singer and follow my tutorial to make yourself a mega cute hair bow in honor of the ‘holiday’! 😉
Don’t tell your sewing machine this, since it’s her big day and all, but you can hand stitch this project, too! A sewing machine just makes it go by that much quicker. In under ten minutes your bow is made, and then you are just waiting on glue to dry to clip it in your hair. It’s a great weekend project- by Monday you’ll have half a dozen to match your outfits!
The instructions to this may look long and daunting, but it’s much of the same thing over and over again, making it extremely simple. You won’t even pay attention after awhile because you’ll be so used to repeating the steps! They really do take under ten minutes per bow to make- try one out and see for yourself!
Materials:
-
Fabric of your choosing (you can get two nice sized bows out of just one fat quarter!)
-
Needle & matching thread
-
Pencil
-
Scissors
-
Measuring tape
-
Glue that will work on both fabric and metal
-
Alligator clip
-
Sewing machine (optional)
-
Pins (optional)
Instructions:
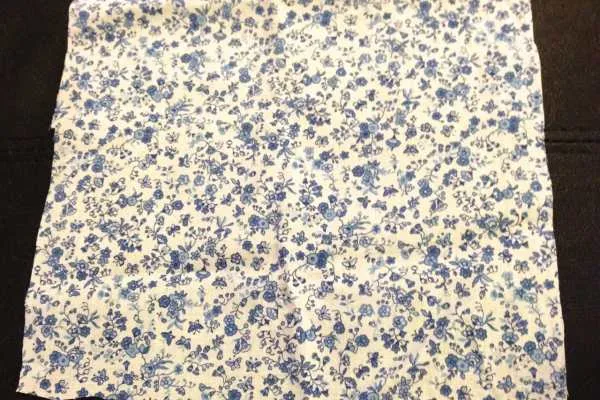
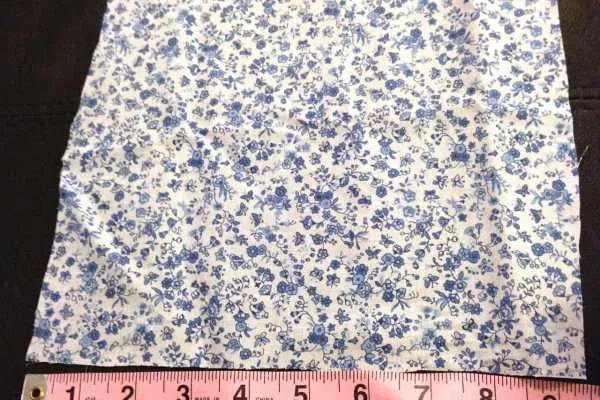
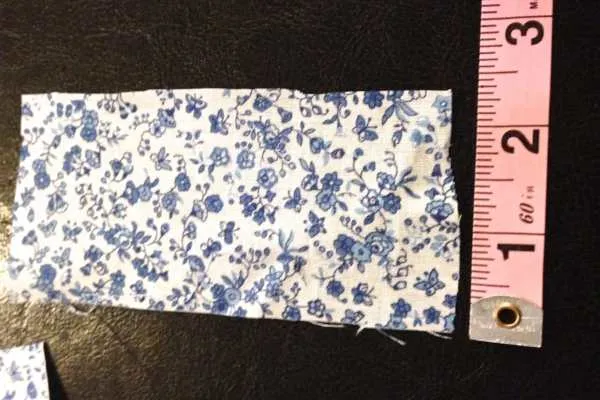
- Cut fabric in to two sections. I cut mine into one 9″ x 9.5″ panel and one 5″ x 2.5″ strip.
-
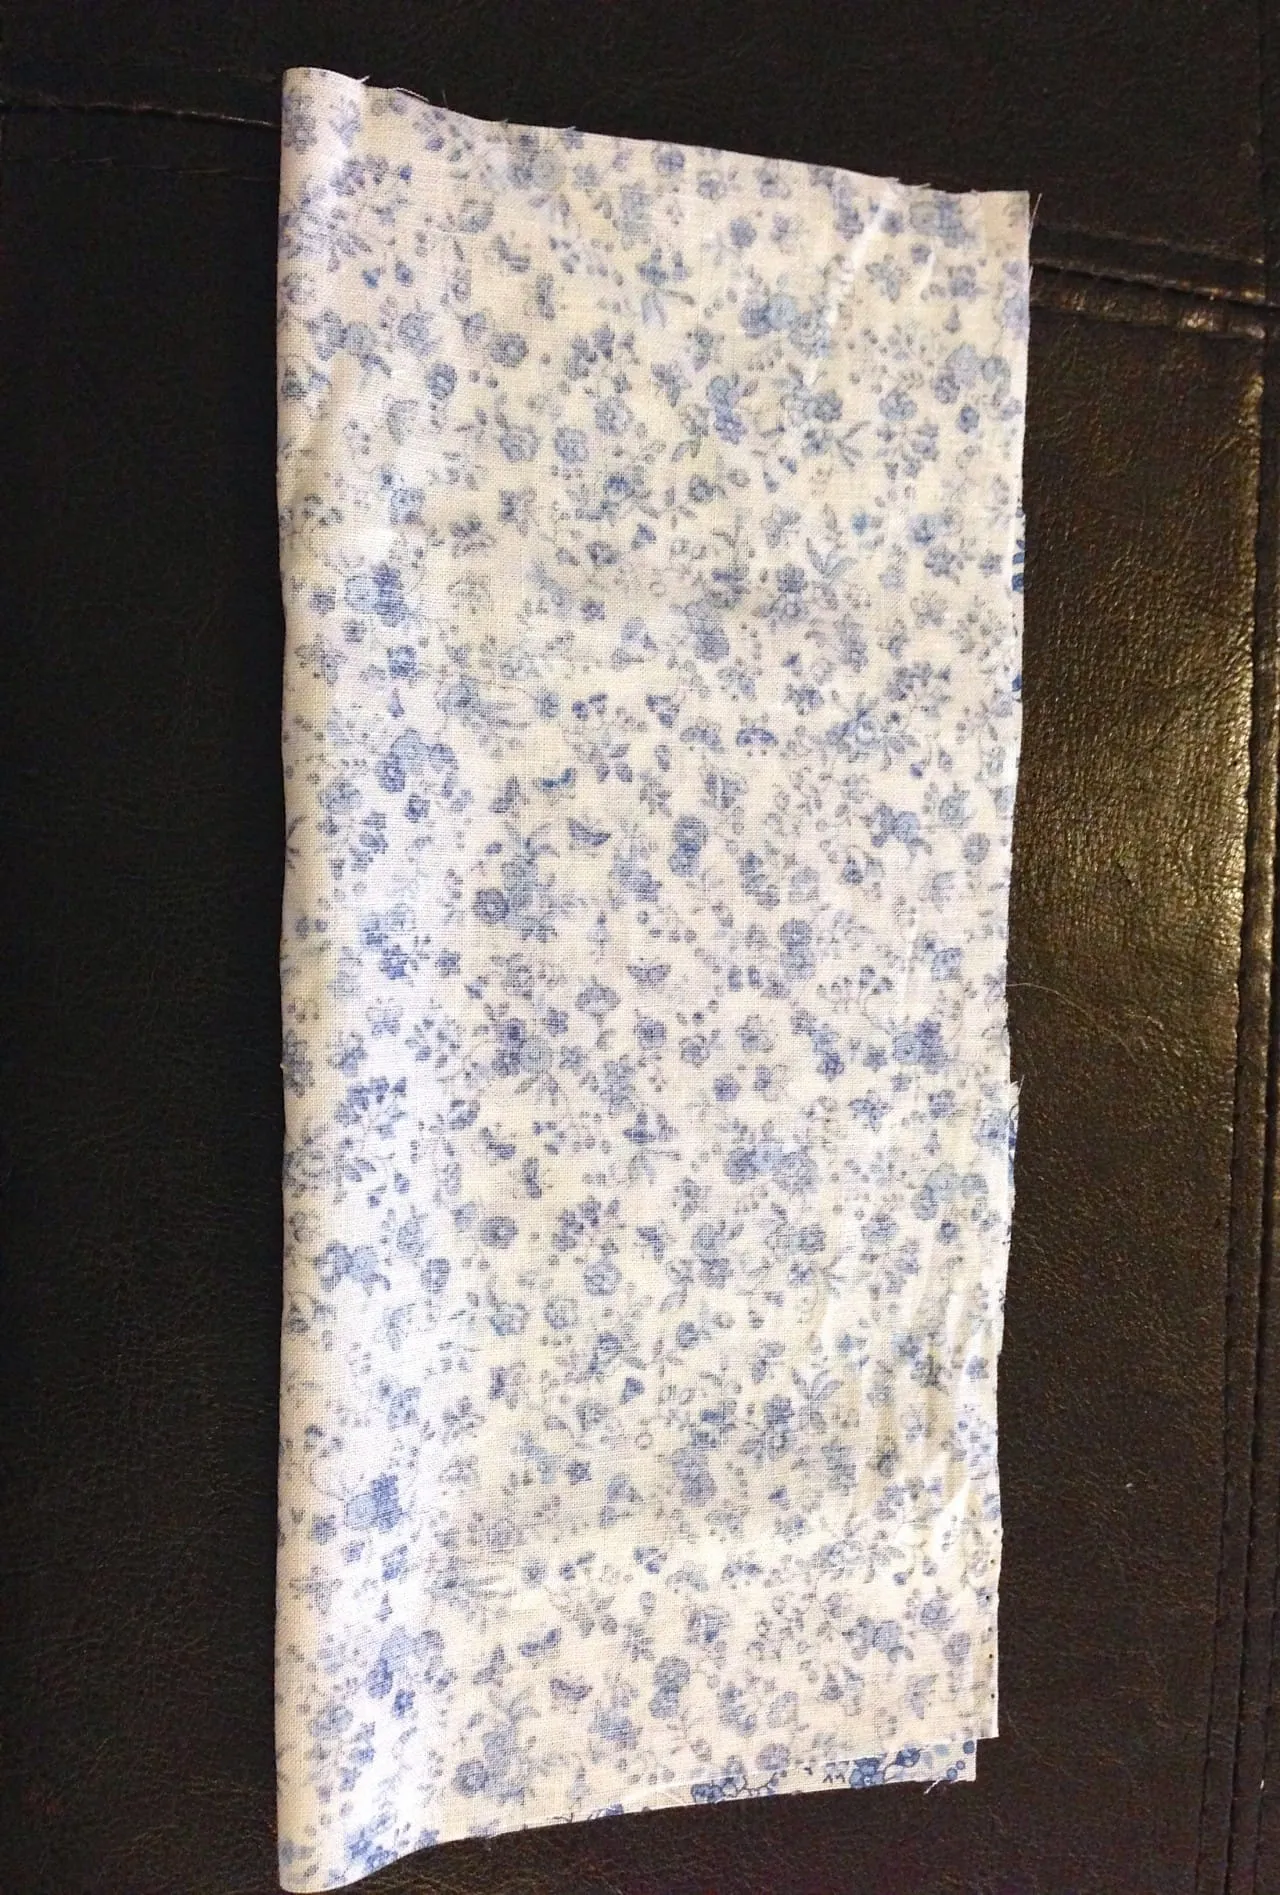
Fold larger section of fabric in half lengthwise, with right sides facing
-
Pin across (if you want to pin it- since it’s such a small section and you’re using a straight stitch across, I neglected pinning and just went slow and steady)
-
Stitch straight across the long edge to create a tube. Don’t forget to back stitch!
-
Trim excess fabric
-
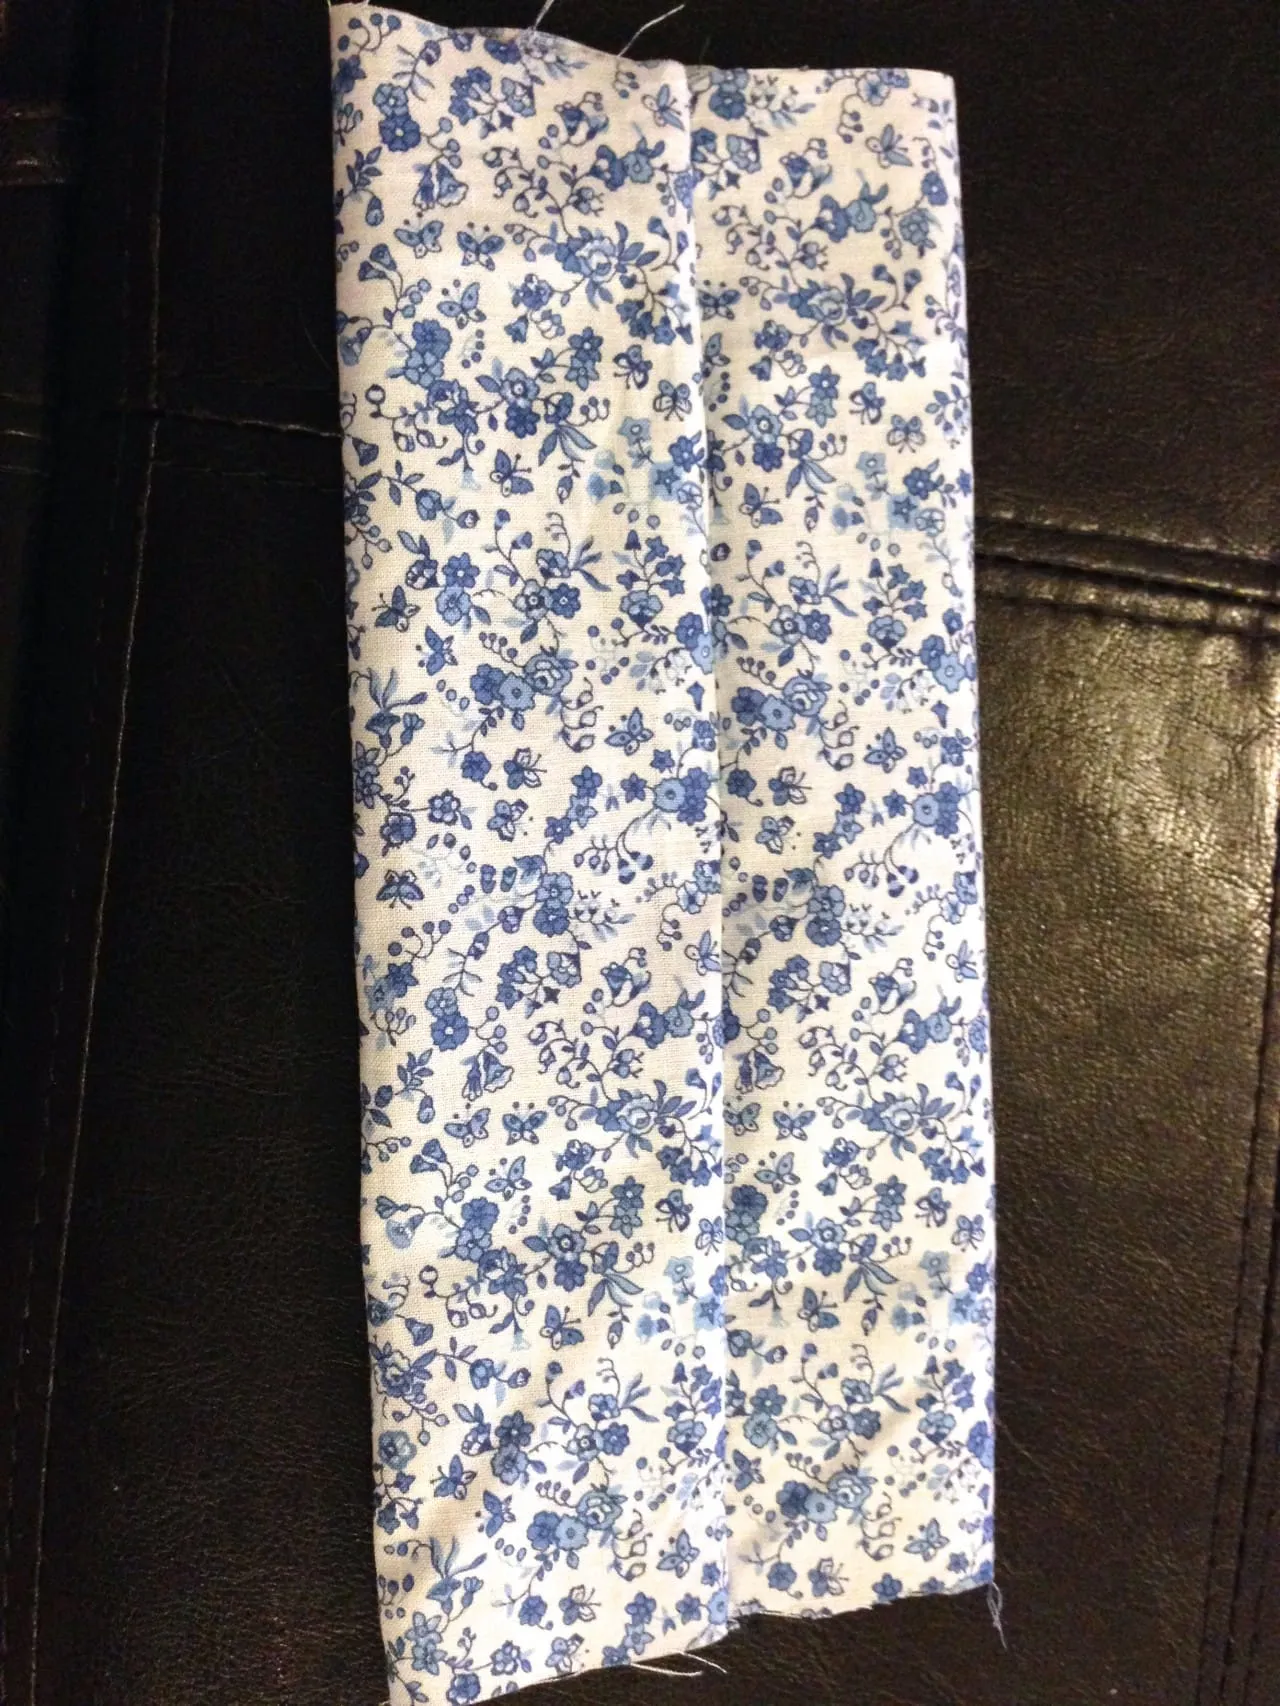
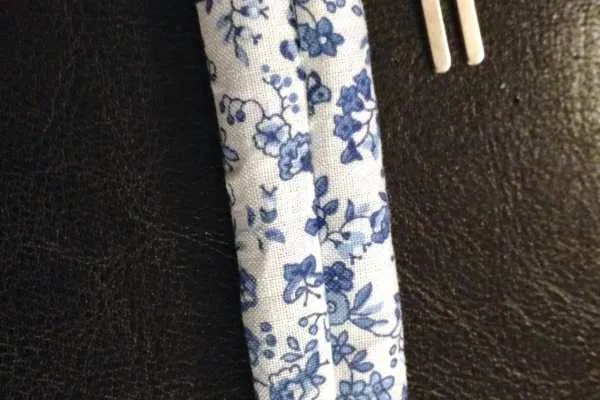
Turn tube inside out so that right side of fabric is visible
-
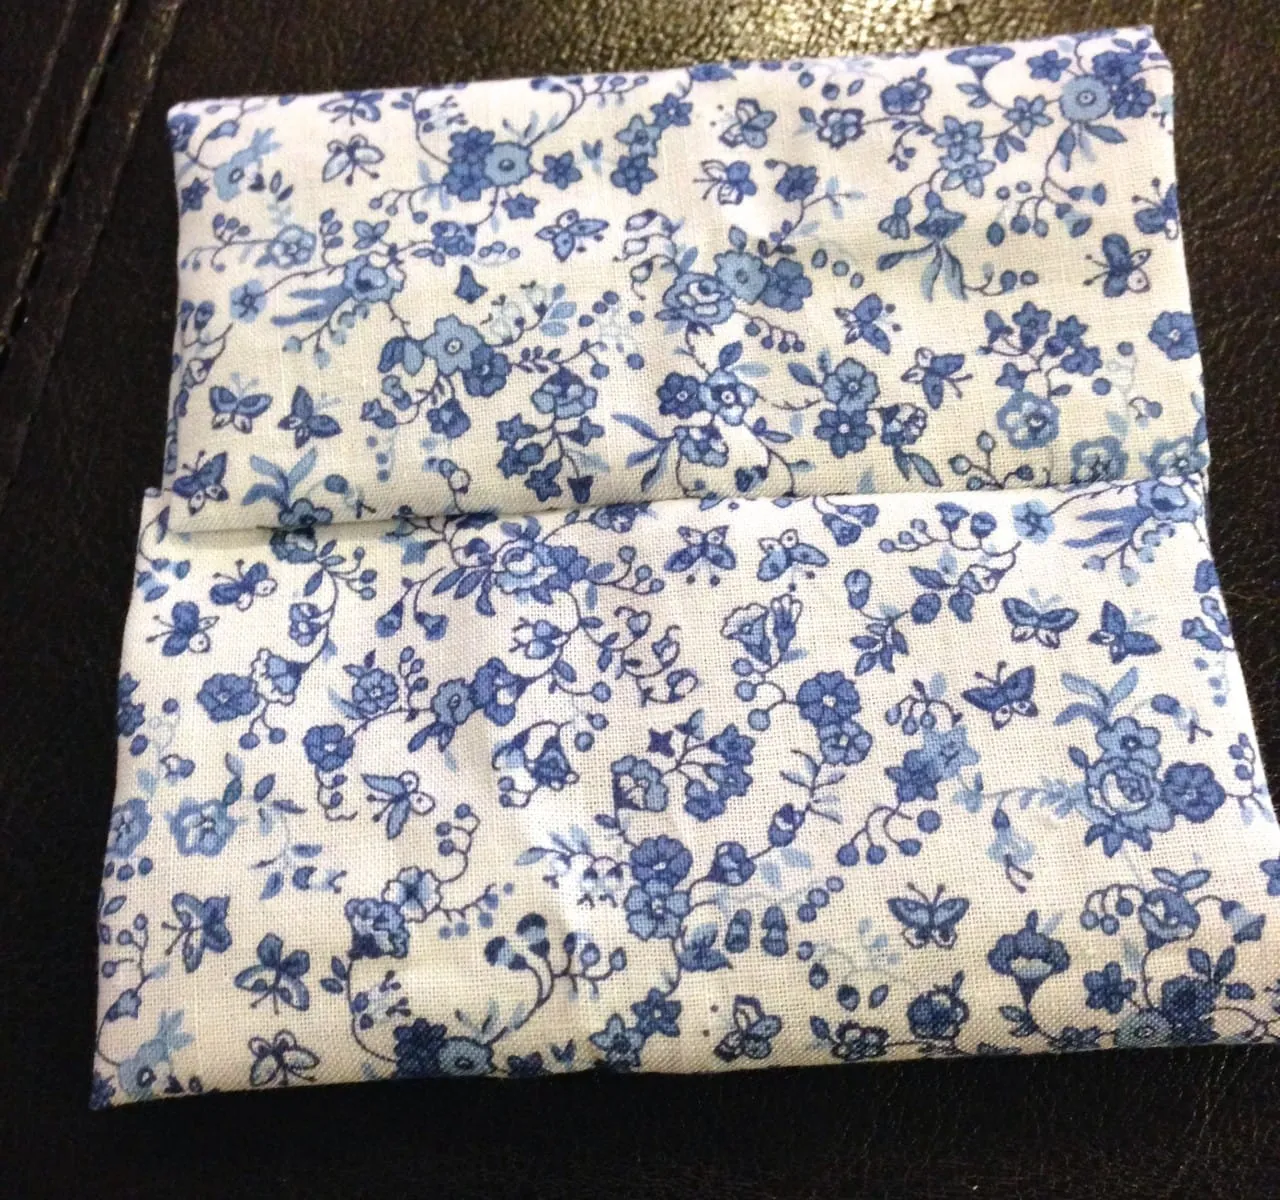
Flatten (iron) if you like, and make sure seam is in the middle as pictured below
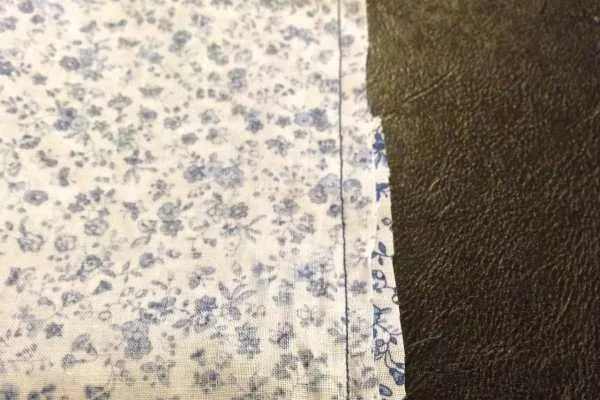
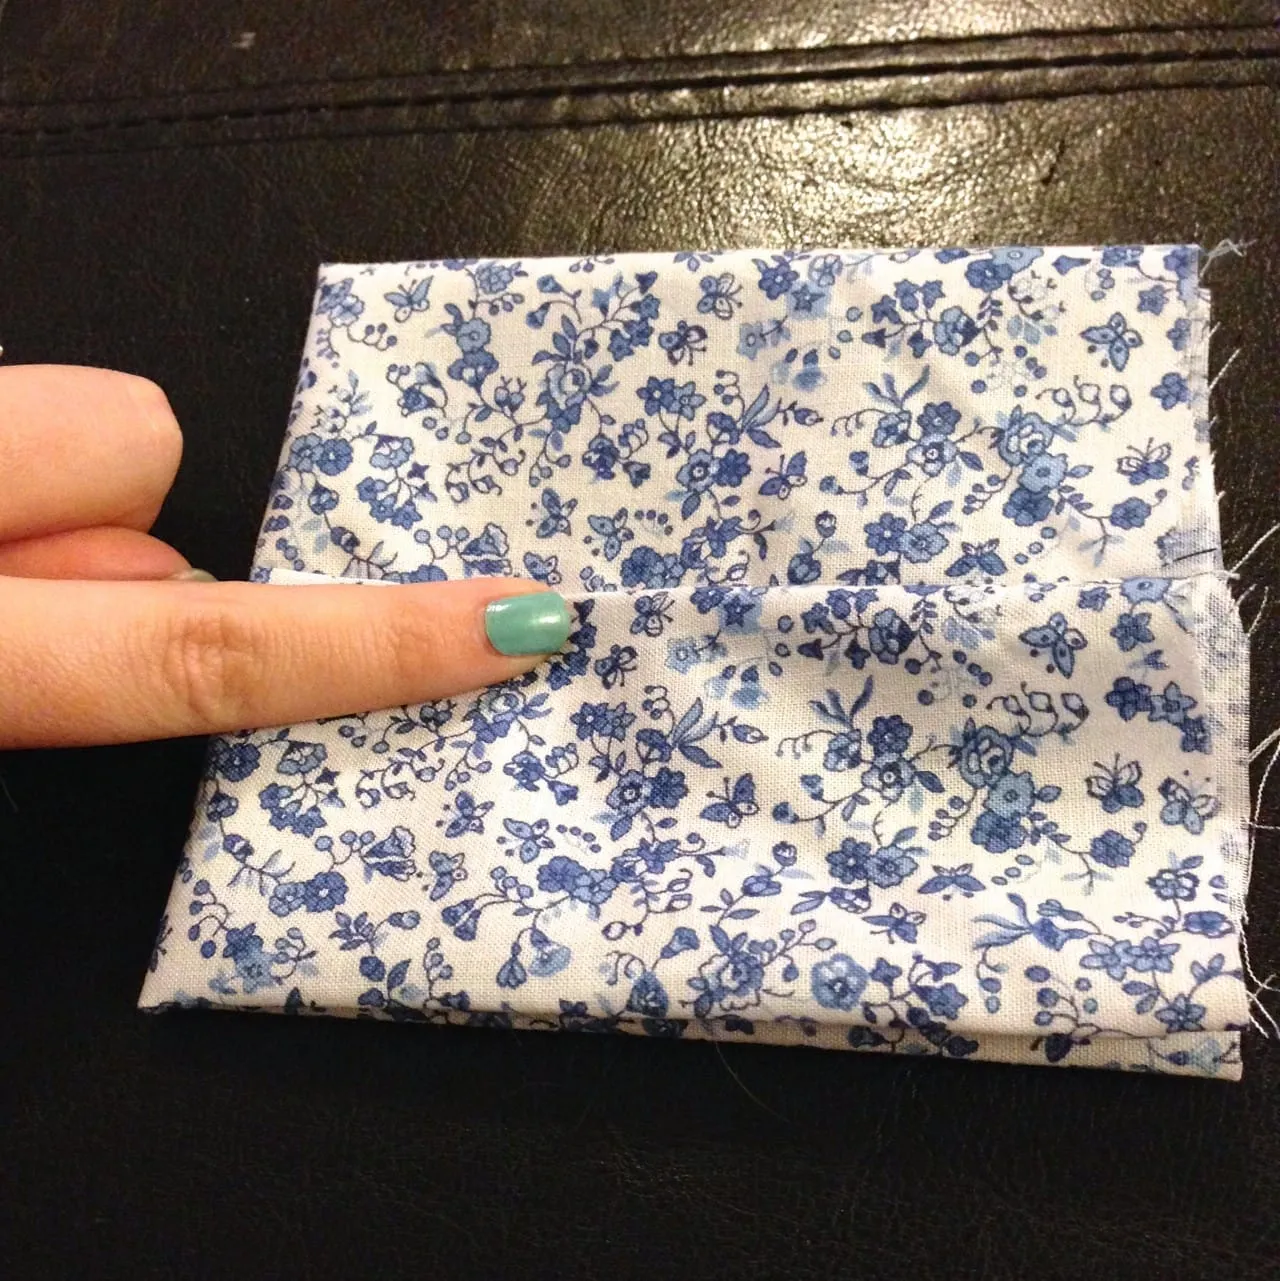
- Fold in half with seam facing you (as shown)
-
Pin if you like
-
Stitch straight across, back stitching again!
-
Cut excess fabric

-
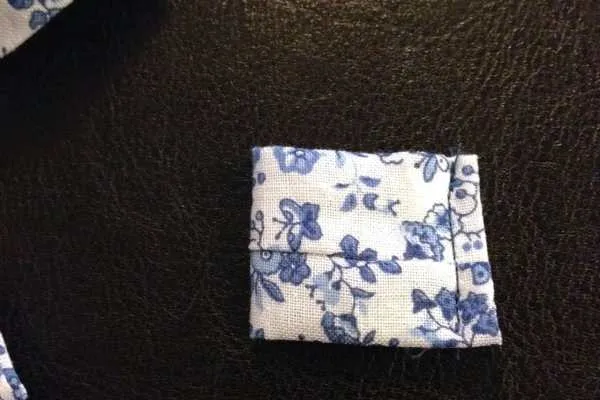
Turn inside out so that visible stitching is on the inside and hidden
-
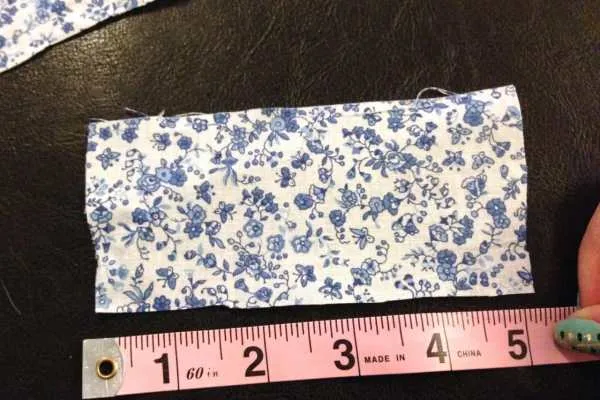
You should have an almost perfect square!
-
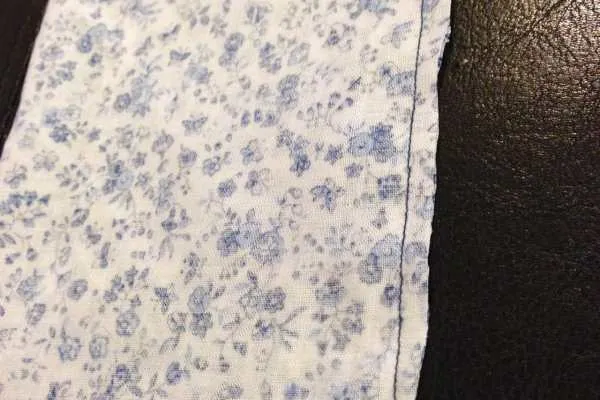
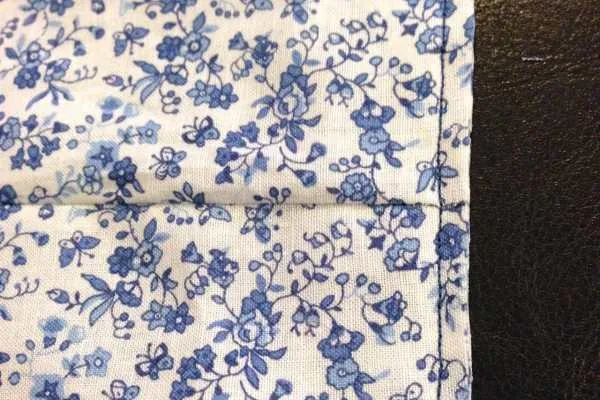
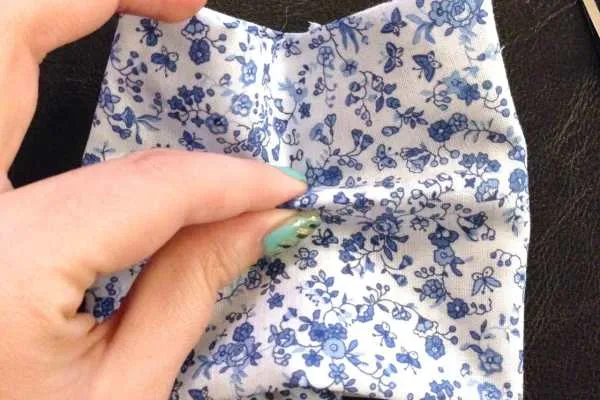
Center your seam again, and flip it over so it’s in the back
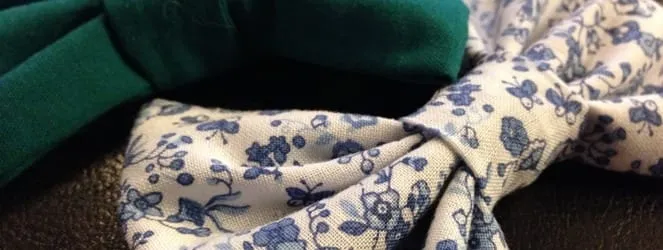
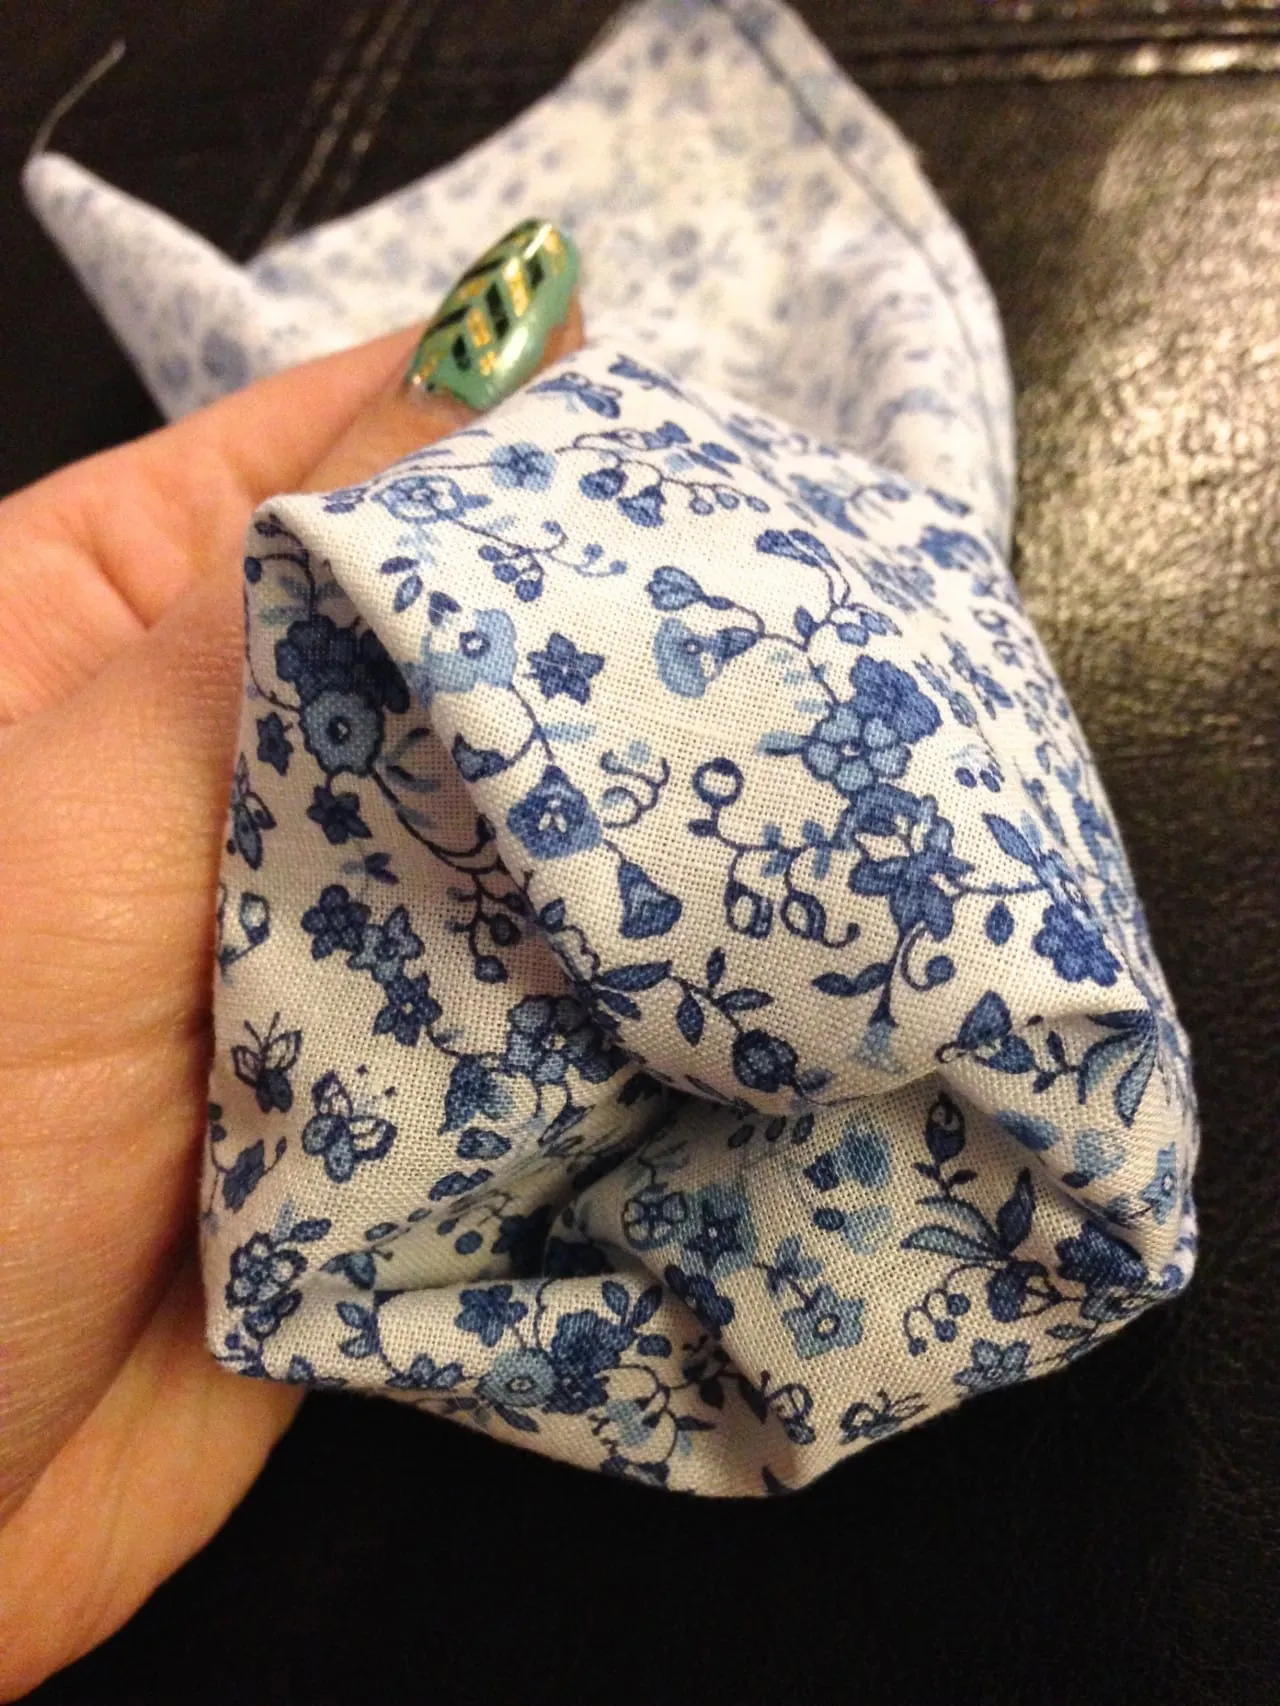
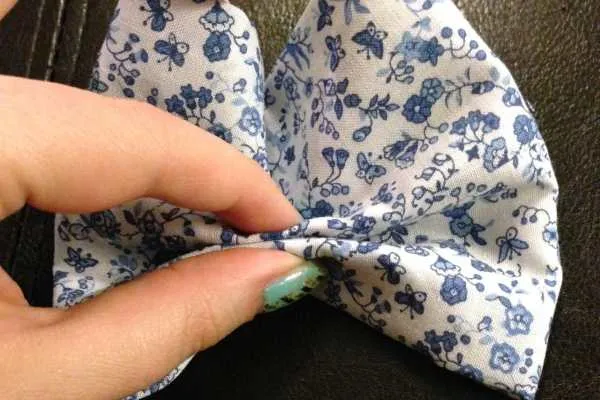
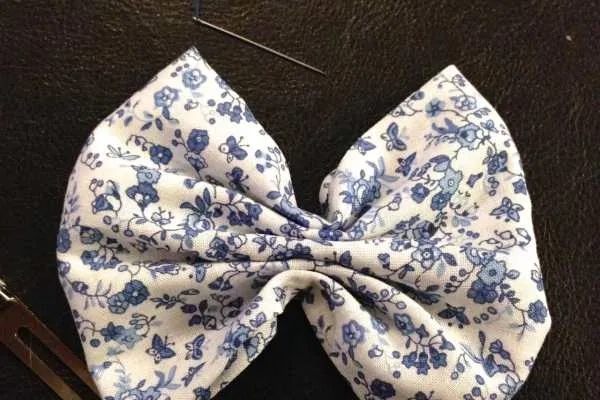
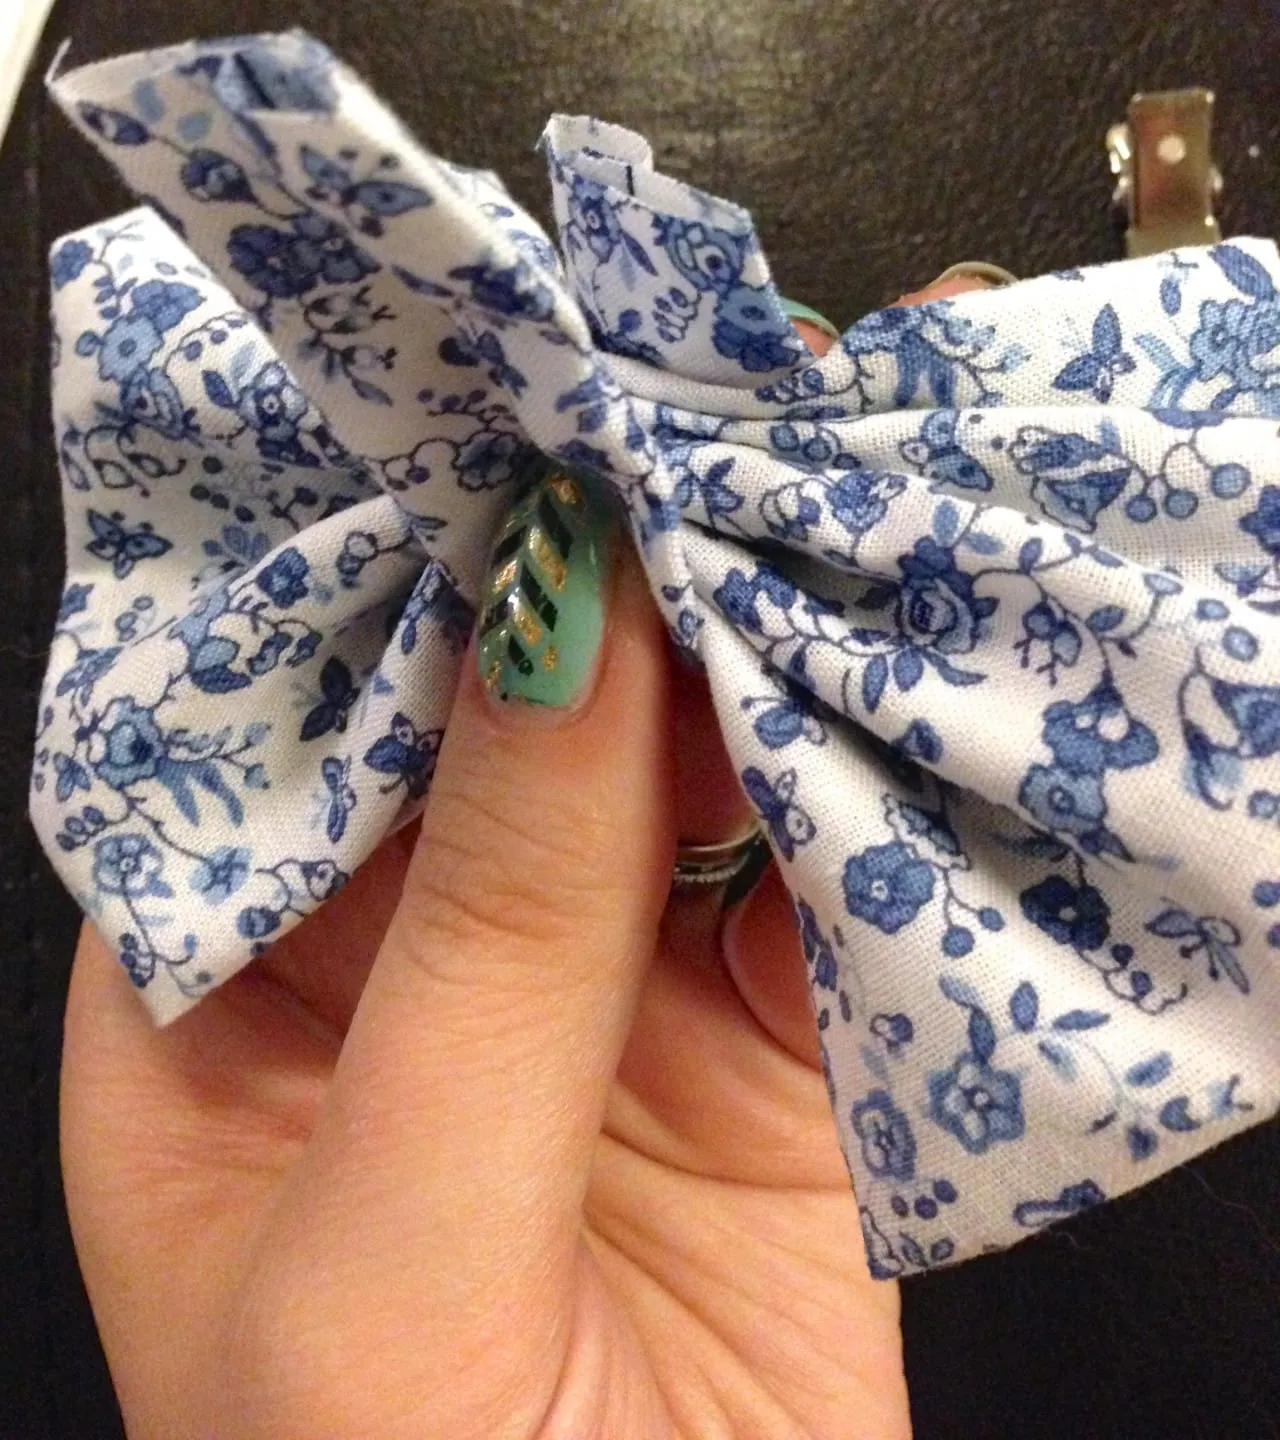
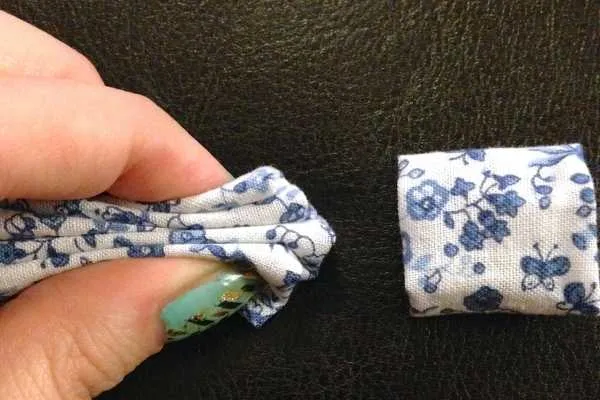
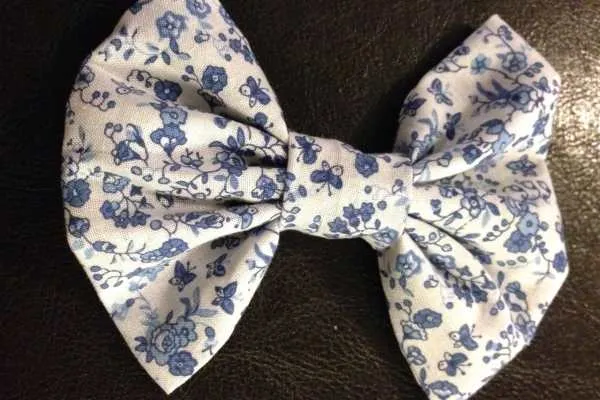
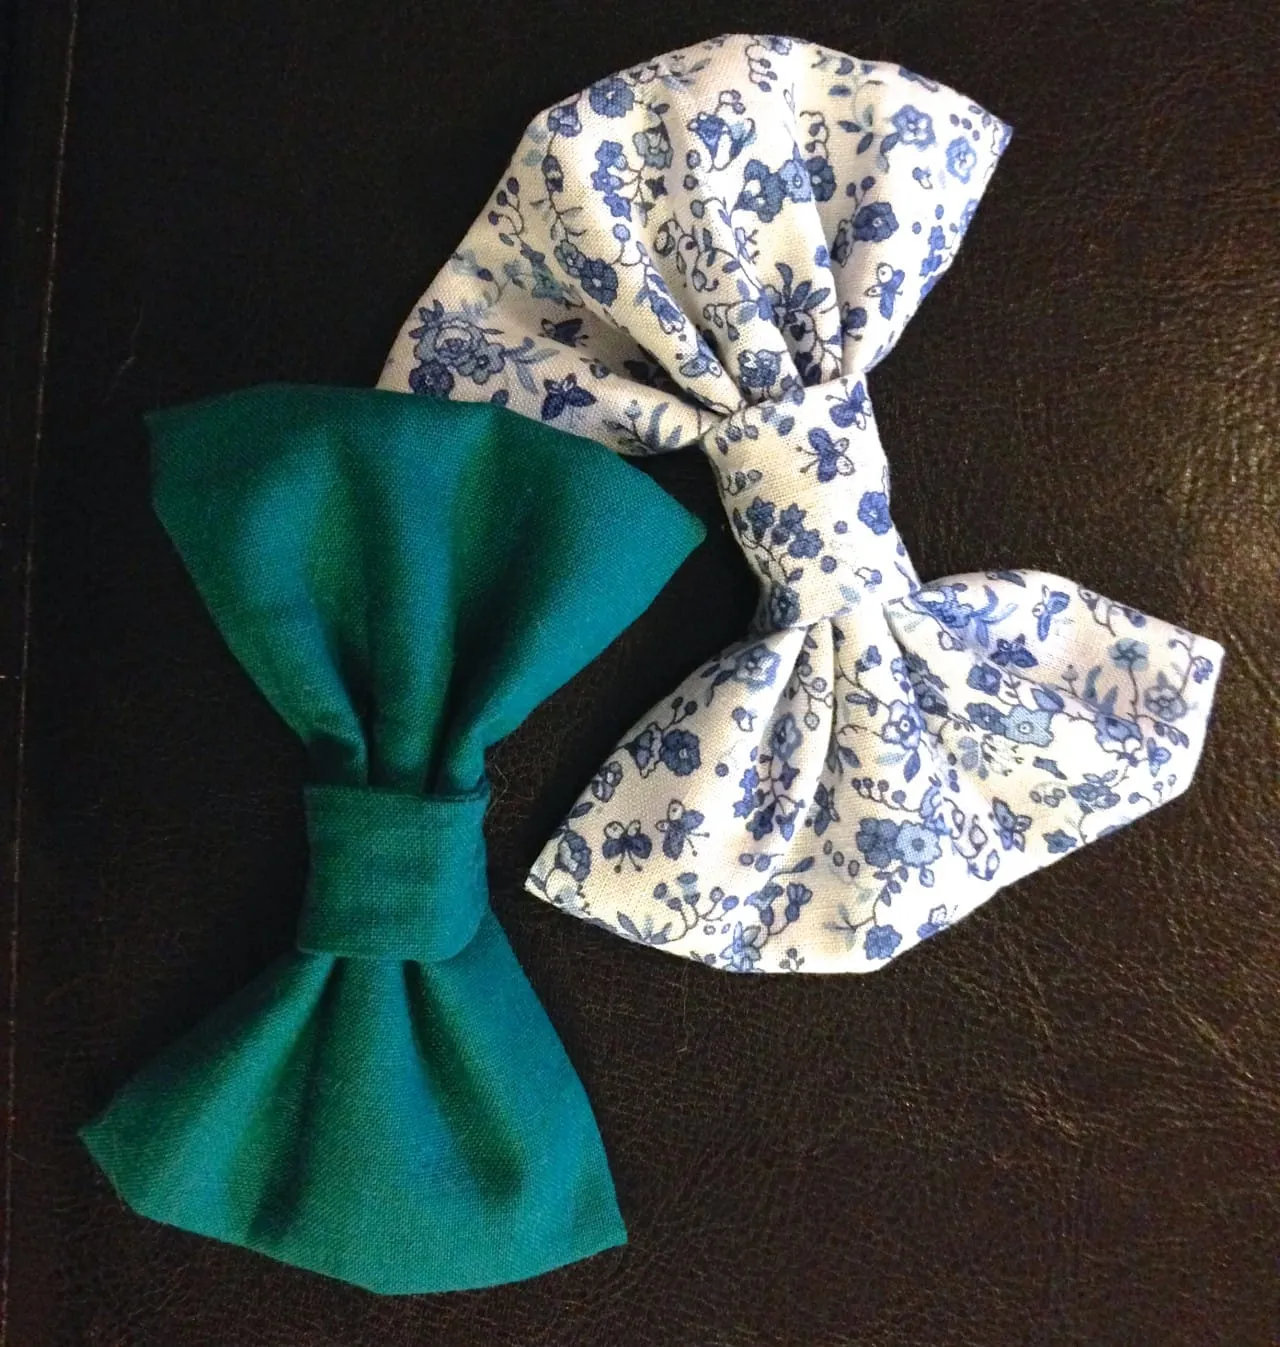
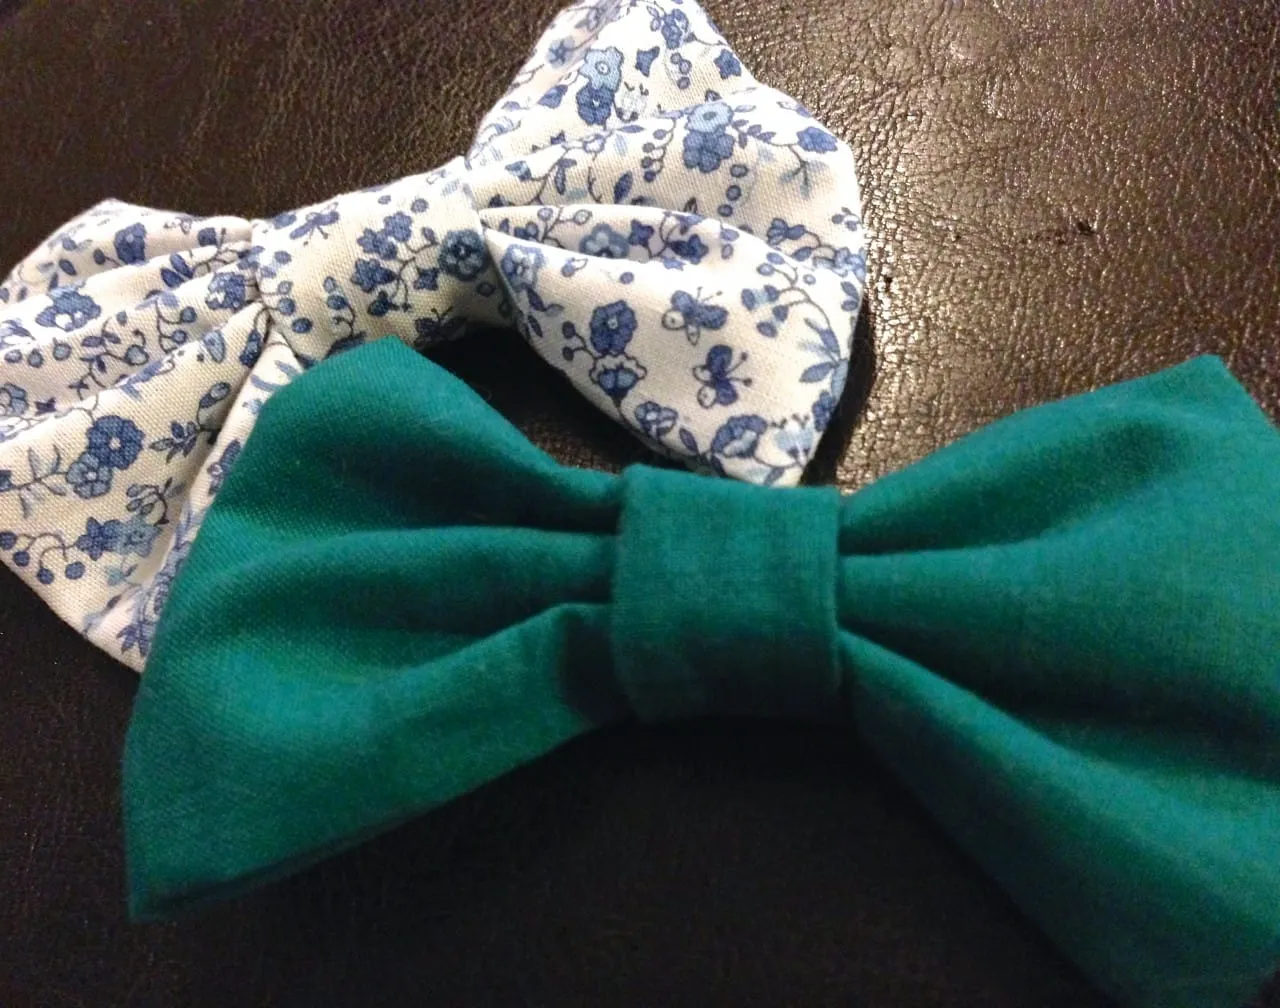
- Pinch the center of the square with your fingers and begin making the bow’s folds like an accordion. Make as many as you like! This blue and white bow has many folds, while my teal one has just a couple. It’s up to you!
-
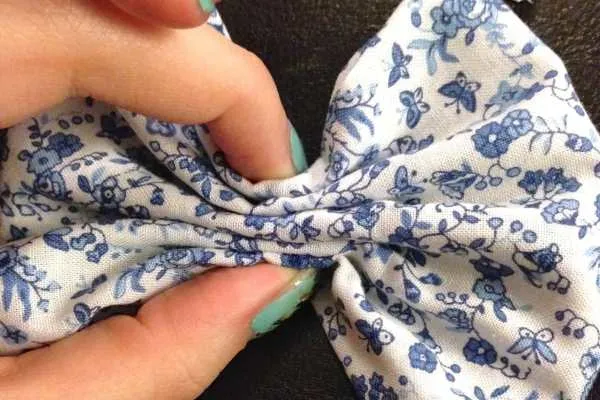
Make sure there are an even amount of folds on each side of the center
-
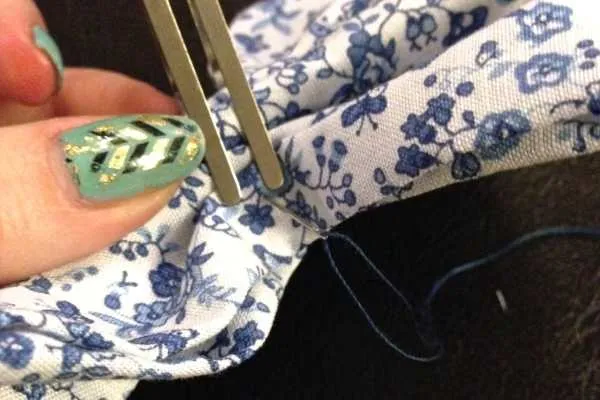
Use the alligator clip to hold the folds together while you put a few stitches with your needle and thread through all the folds. Remove clip. This will hold them together while you continue. See below.
-
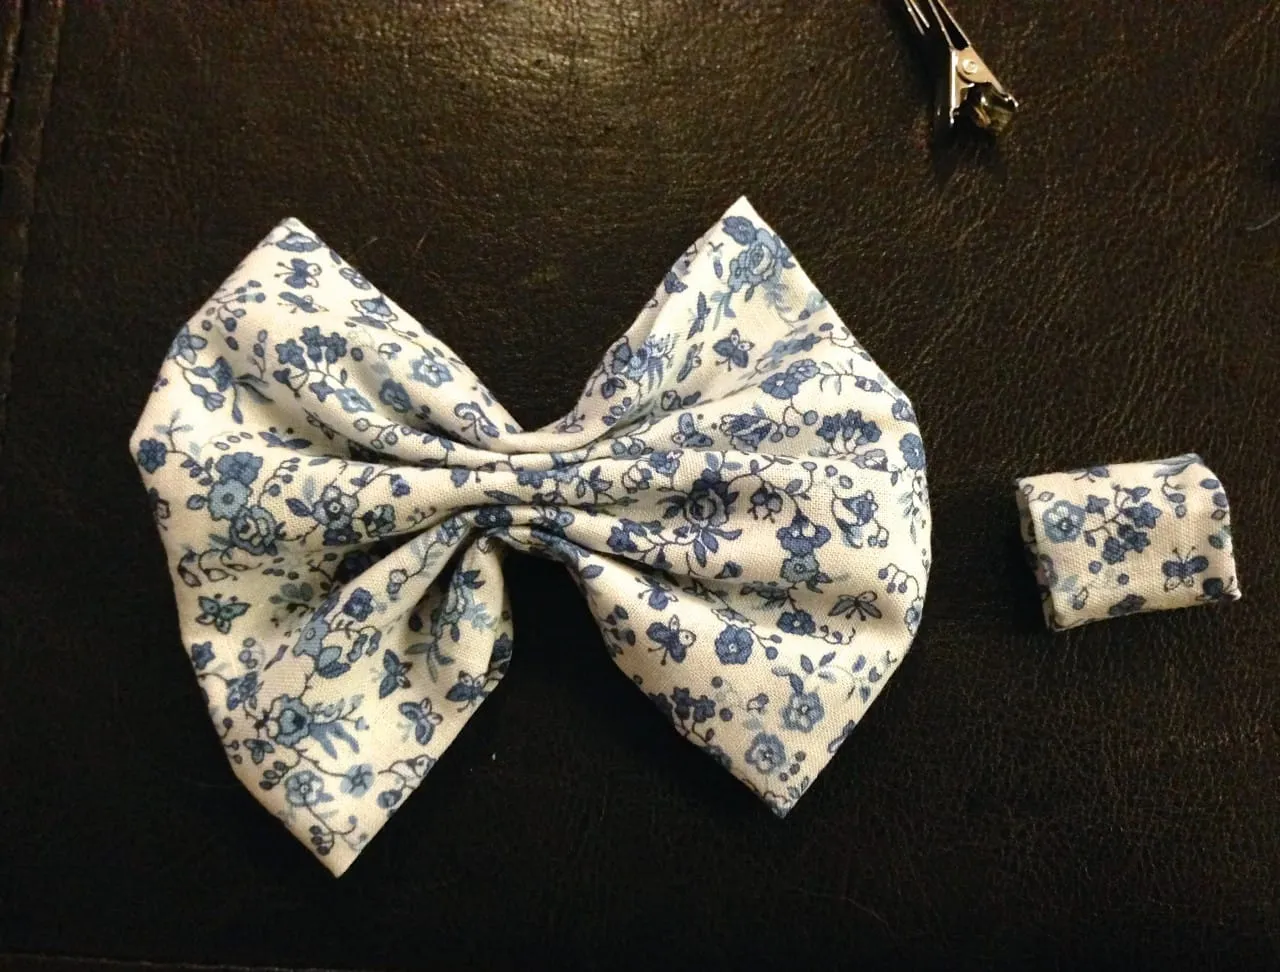
Now it’s time for the center piece!
-
Fold the smaller strip in half lengthwise, with right sides facing.
-
Pin if you like
-
Straight stitch across to create tube (and back stitch!)
-
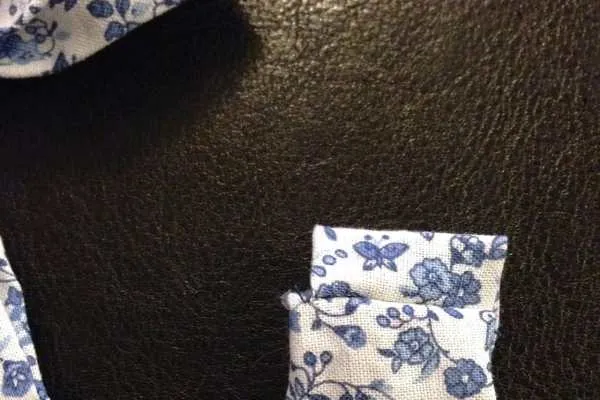
Turn inside out gently- I used my fingers and the end of a pencil to do this.
-
Center the seam and iron if you like
-
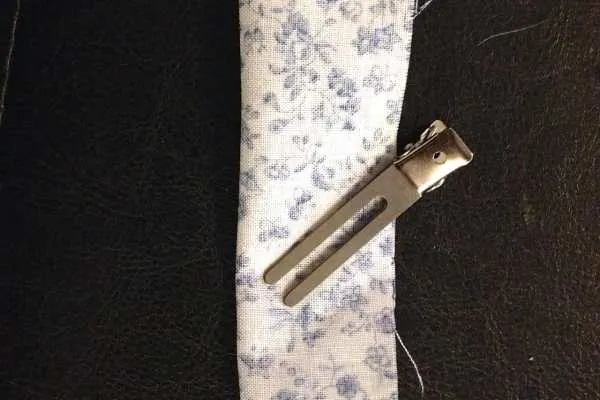
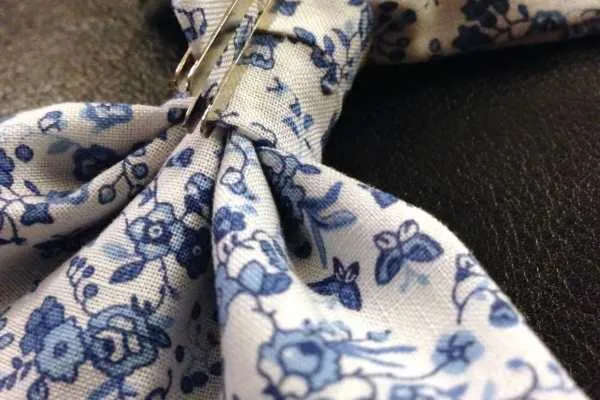
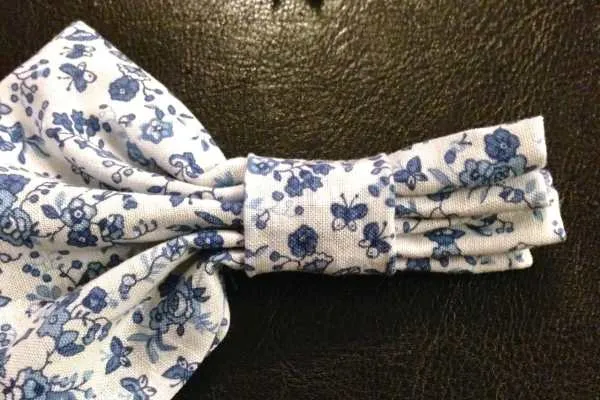
Wrap the smaller tube around the center of the bow. Use the alligator clip to secure it snugly around middle.
-
Mark with your pencil where the bottom of the alligator clip sits on each side of the fabric.
-
Cut off excess material, leaving about 1/2″ of extra fabric above where the clip is
-
Remove clip and small tube
-
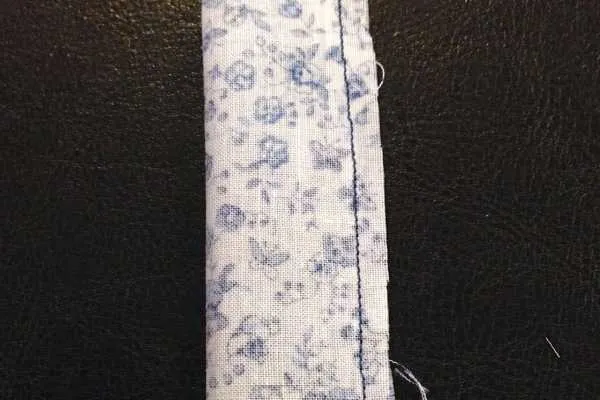
Fold tube in half with seams facing you, and straight stitch across that pencil line.
-
Cut excess
-
Flip inside out so stitches are on the inside
-
Iron if you like (but I didn’t!) making sure seams are in middle
-
Next you need to squeeze this large bow through this tiny center tube. It looks like it will be hard to do! It isn’t, I promise.
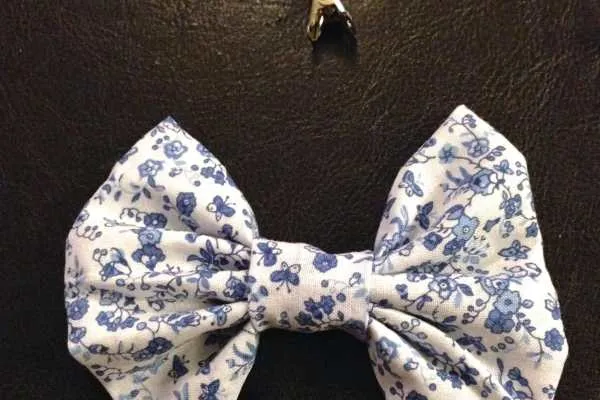
- Squish one end of the bow in to it’s accordion folds and just shimmy the center piece all the way to the middle of the bow.
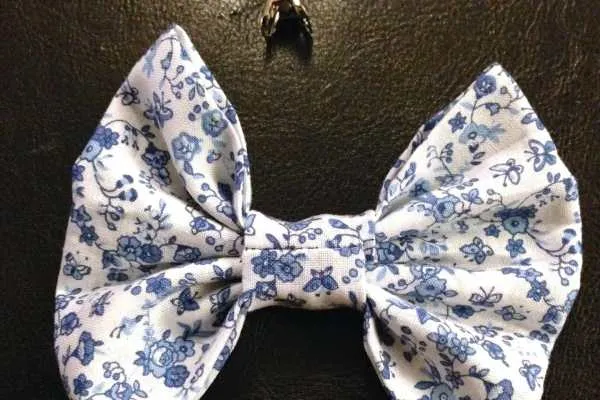
- Puff out the bow however you like it to look. When you are satisfied, turn it over to make sure the seam is in the back.
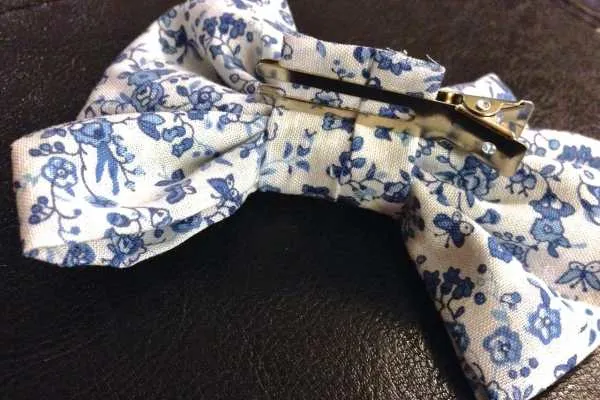
- Put a few good sized globs of glue on your clip. I open the alligator clip as wide as it can go and choose which side I’ll be using- then I put glue all over the front and back of that side. Carefully slide in the gluey clip between the bow and the center piece and press firmly for 60 seconds.
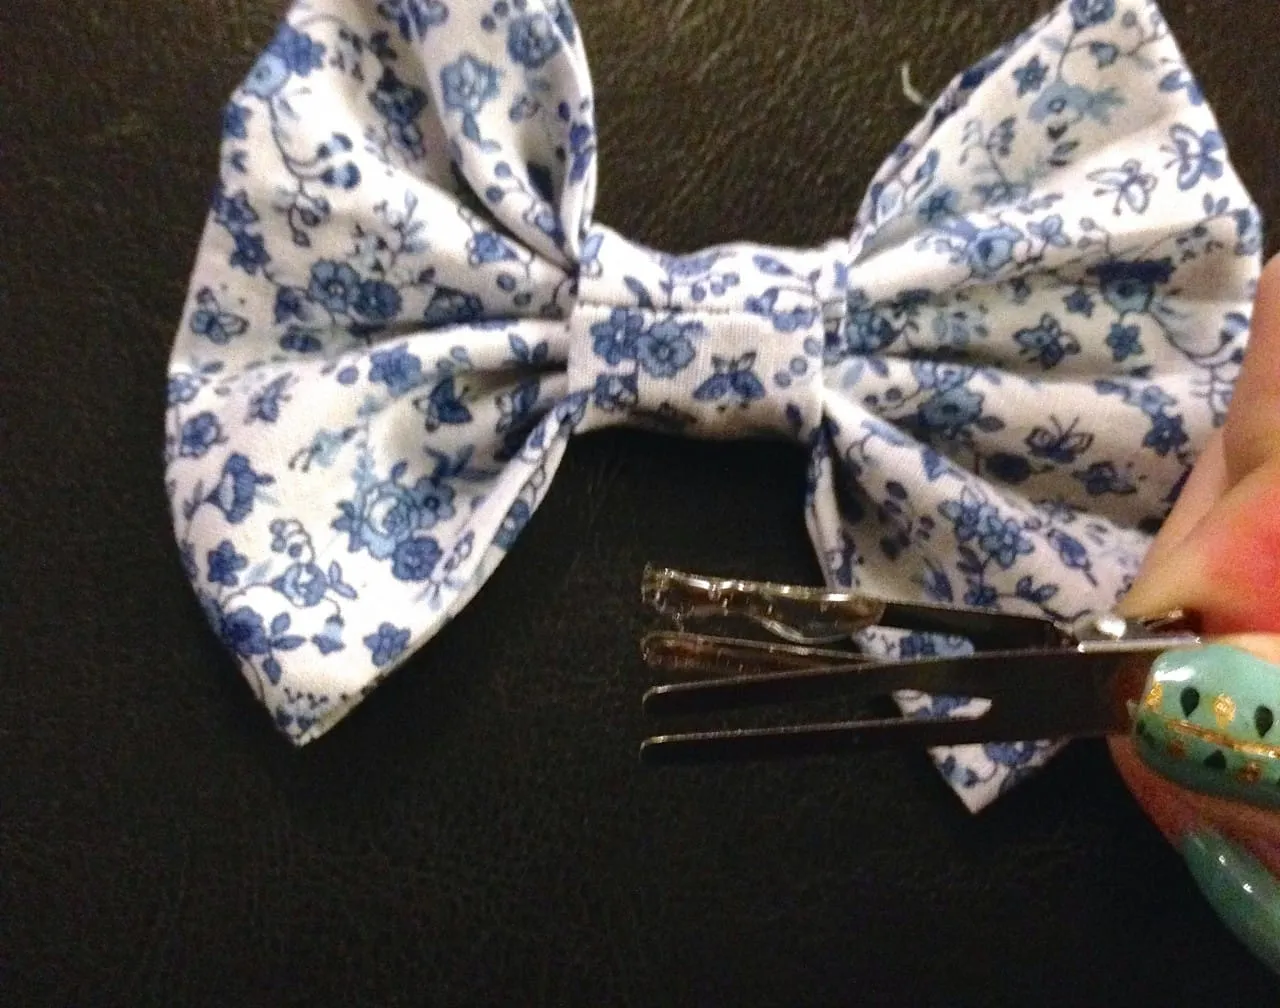
- Then release the rest of the clip to sit on the outside of the center piece (this is the part that grabs your hair)
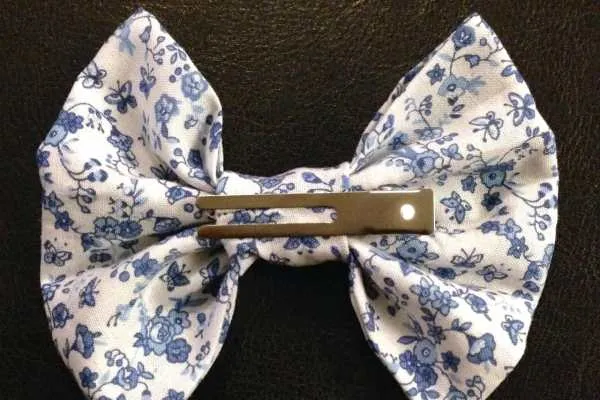
- Let glue dry completely before wearing
Tips:
-
Different sizes of bows require different squares of fabric. Experiment to see the size and shape you like best!
-
The center piece is longer than you’ll need it to be on purpose- depending on what fabric you use or how bulky it is, you may end up needing that extra bit. It’s easier to start with the extra and cut it away than to add it later or start over!
-
I wear one of these cuties on top of my ponytail to cover the hair elastic, or if my hair is in a top bun I wear it underneath the bun for a fun look!
If you use this tutorial, show me what you make! If you have other hair bows to share, please do so! I’d love to see them!