Cherry Nail Art
,
, an
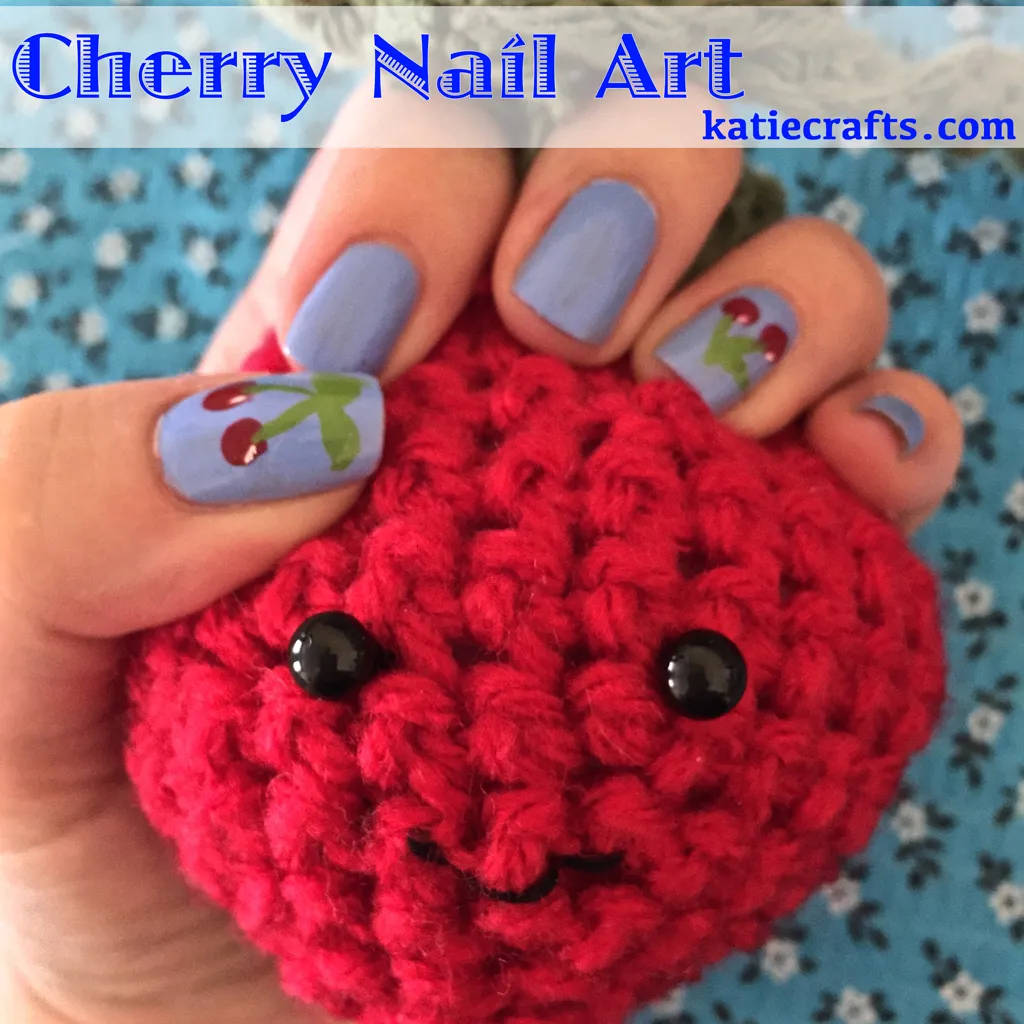
– it’s time for one last cherry post! I used my Sally Hansen Miracle Gel (no UV light needed!) and made a cute look perfect for the Summer.
I loooove the Miracle Gel polishes! They still chip like regular polish, but they last a little longer and they make my nails feel much stronger. I just really love the feel of them. I’m waiting for a good coupon or sale to grab a few more colors! You don’t have to use the gels to get this cherry nail art look, however. You can use a regular light blue polish and clear top coat if that’s what you have on hand!
Materials:
-
Red nail polish
-
Green nail polish
-
White nail polish
-
Nail art brush
-
Dotting tool
Instructions:
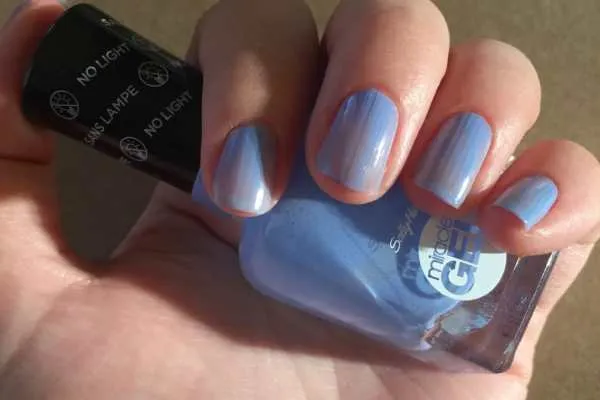
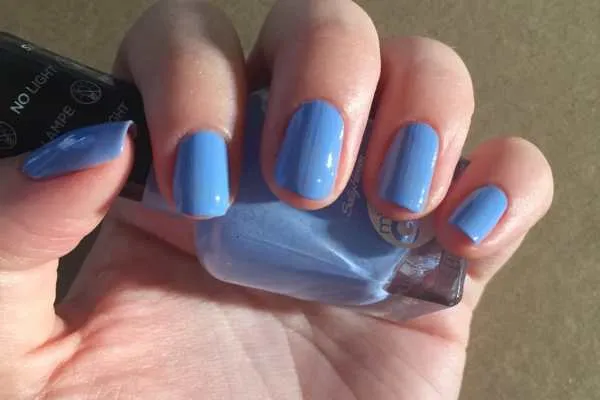
- No need to do a base coat with the Sally Hansen Miracle Gels. Do one coat of the pretty periwinkle Sugar Fix, let dry, and do a second coat. Let that dry too!
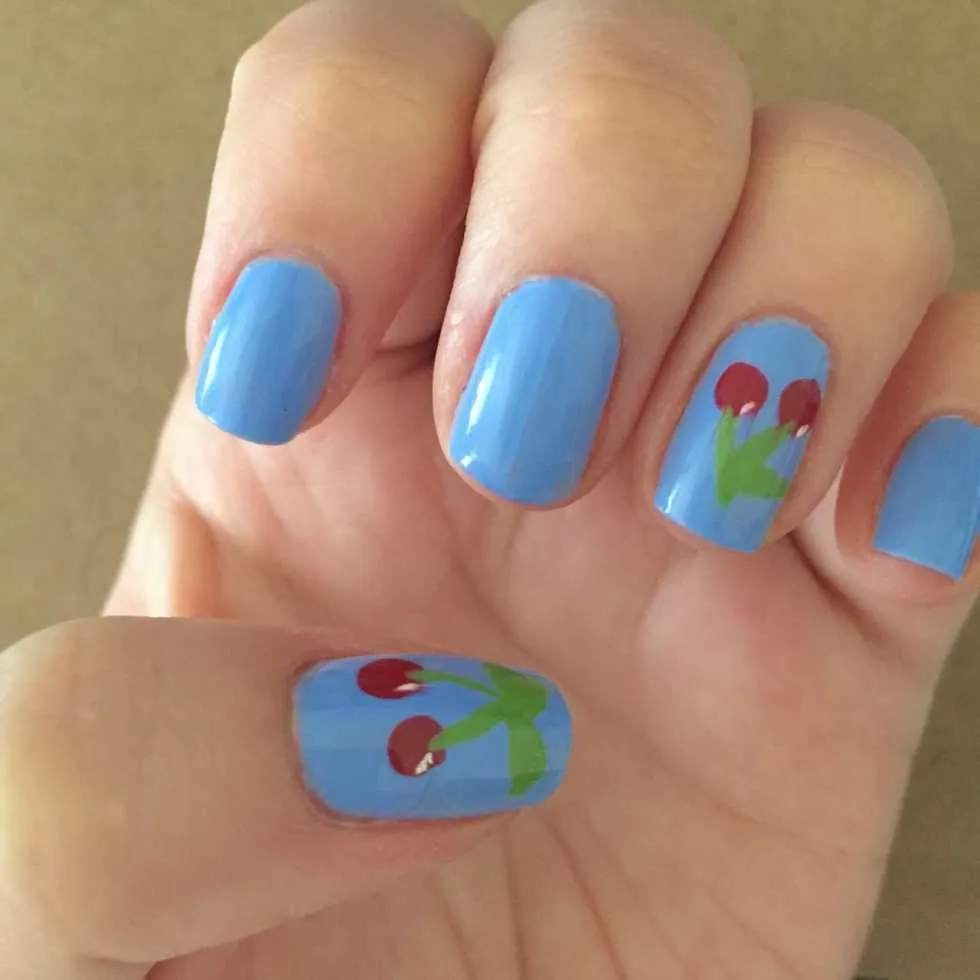
- Use the large end of the dotting tool to make two cherries on whichever accent nails you intend to decorate. Let dry.
- Use the nail art brush and green polish to draw little connected stems and some leaves. Let dry.
- Use a white striper or white nail polish and nail art brush to create small a small dot or line to create a little “shiny glare spot.” Let dry.
- When your nails are totally dry, give them each a quick coat of the Miracle Gel Top Coat. Let dry and enjoy your nails!
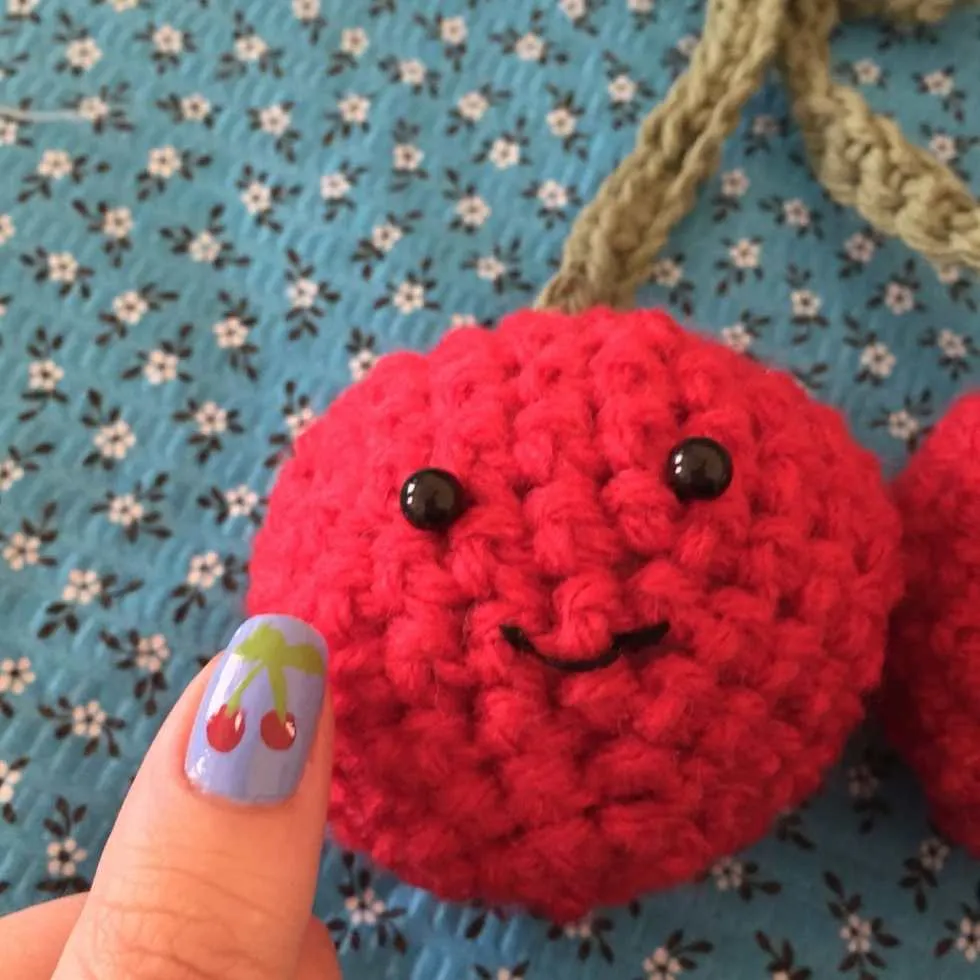
Happy Cherry gives this design a thumbs up!
Cherries not your thing? Don’t forget about my
and
! Any would be cute for a Summery look!
What other fruits should I paint on my nails?