Heart Pillow with Pocket Tutorial
Project: Heart Pillow with Pocket Tutorial
It’s the second week of January, so naturally it’s time to start our
Valentine’s Day
projects! This little sewing project is a quick work up, and perfect for any beginner- even your crafty kid! Use it to deliver a sweet little note to your Valentine, or perhaps a few treats for your loved one!
Materials:
-
Sheet of paper + pencil
-
Sewing machine
-
Coordinating thread & needle
-
Fabric in desired pattern and size
-
/ stuffing
-
Scissors
-
Pins
Instructions:
-
Using the wonderful skills you learned in Kindergarten, fold your sheet of paper in half and trace half a heart. Cut it out with your scissors. This is now your pattern. If you hate it, trim away until you are happy with it’s size and shape. Remember, when you sew it together later, it will transform shape a little, so don’t be surprised when it doesn’t turn out looking EXACTLY as your paper heart does!
-
Pin your new heart pattern to your fabric and cut out three hearts.
-
Of these three, one will be the front of your pillow, one will be the back of your pillow, and one will be the pocket of your pillow. If your fabric is patterned, you may want to take a look at what each piece looks like and decide which you want to use for each area.
-
Using whichever piece you choose to be your pocket, you will cut the top off of that heart to make a triangle. Don’t cut it down too small, or your pocket will be super tiny on the bottom of your heart!
-
Fold over the edge you just cut about a half inch and pin. Sew across to make a small hem. I used a zig zag stitch to make it a little cuter! Leave the other two sides alone.
-
Lay the pocket right side
up
on top of the piece you chose for your front (also right side up) so that it looks just how you want the finished product to be.
-
Lay the back heart fabric piece right side
down
on top of the other two pieces, enveloping the pocket. Make sure all edges are matched up and pin all the way around.
-
Use a straight stitch all the way around the heart to sew together all three pieces, leaving a small opening somewhere on the pillow for turning. I left my opening on the top to make it easier.
-
Use scissors to trim excess, or pinking shears if you have them. Turn inside out through hole.
-
Now that your pillow is completely adorable, you just need to stuff it! Fill it with poly-fil until it’s the firmness you desire, remembering to leave a little room near the hole for easier sewing.
-
Use matching thread and a needle to hand stitch the opening closed, and you have yourself a Valentine pillow.
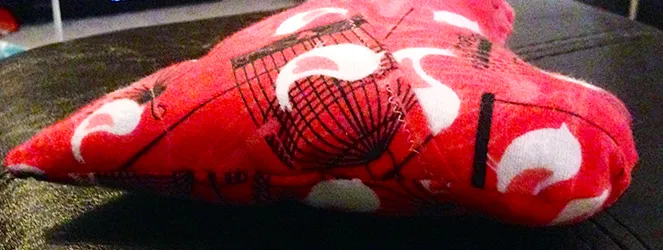
Pillow Front Pillow Back
Write a love note, slip it in the pocket, and leave it for your Husband to find! When Valentine’s Day is over, reuse the pillow for the Tooth Fairy for your kids! Such a cute little decoration, takes no time at all to make, and can be made in any size you desire. Happy crafting!